

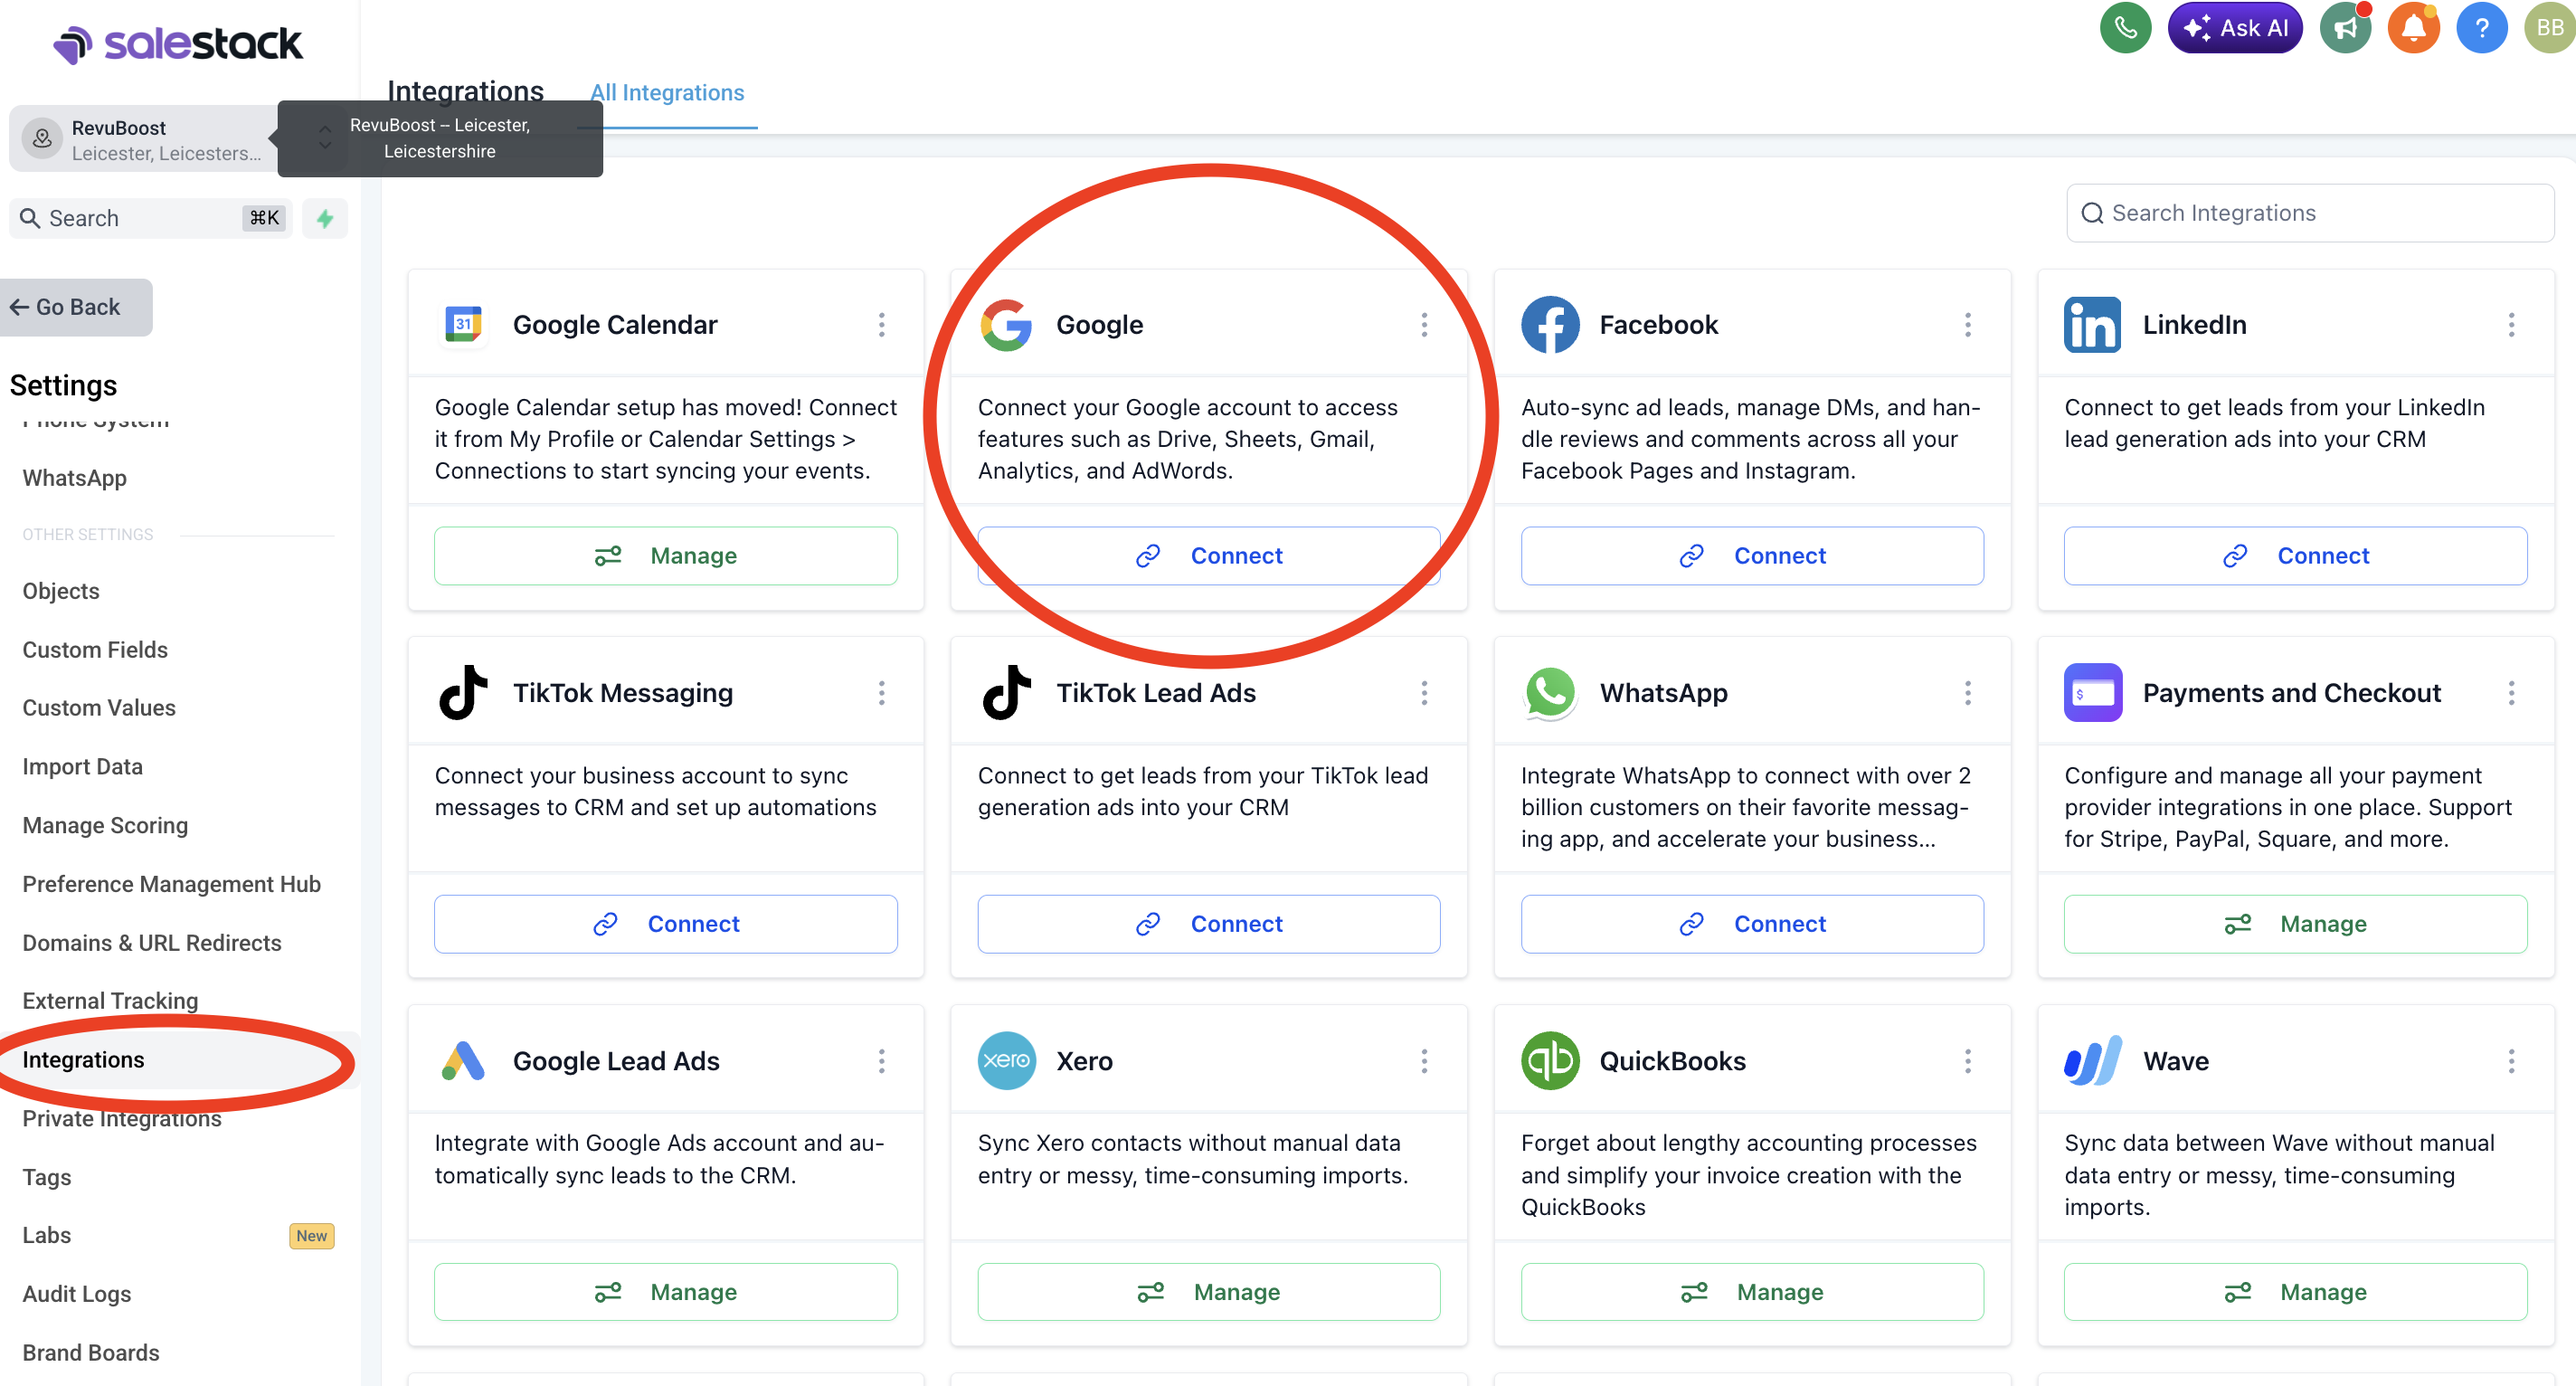
Connect Google
The business owner needs to connect the Google account that manages their Google Business Profile.
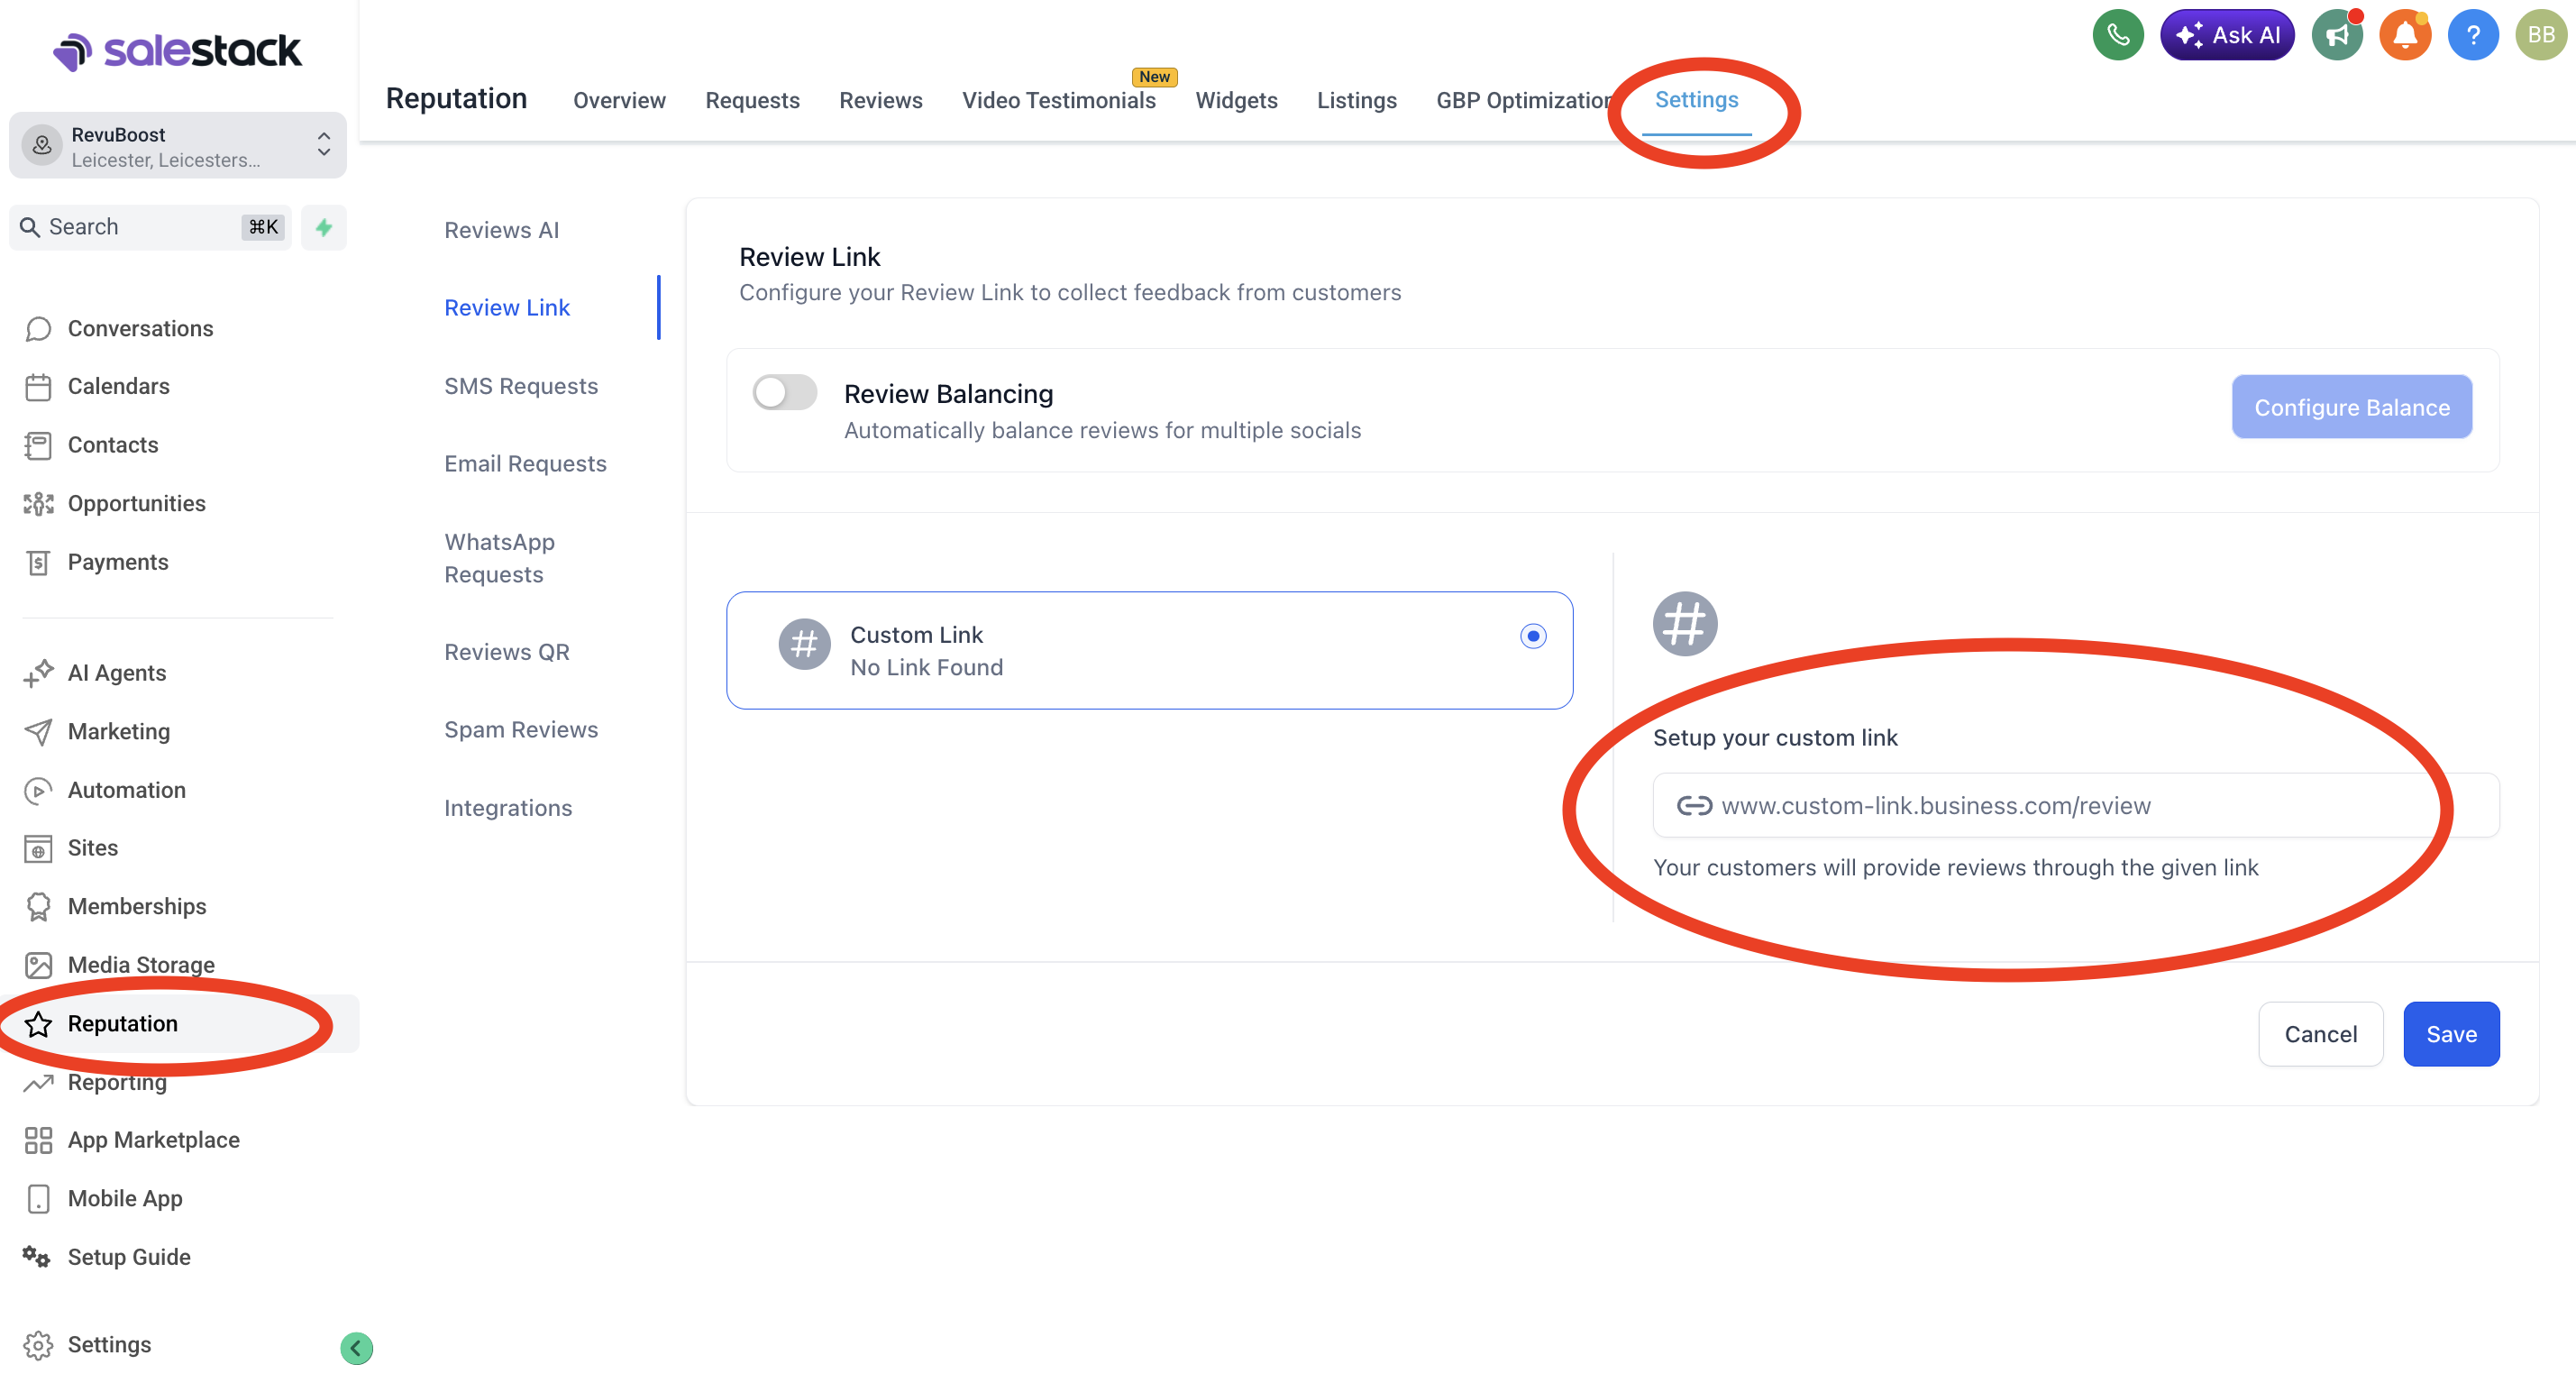
Copy the Google Review Link
Once Google is connected, copy the direct Google review link from the Reputation settings.
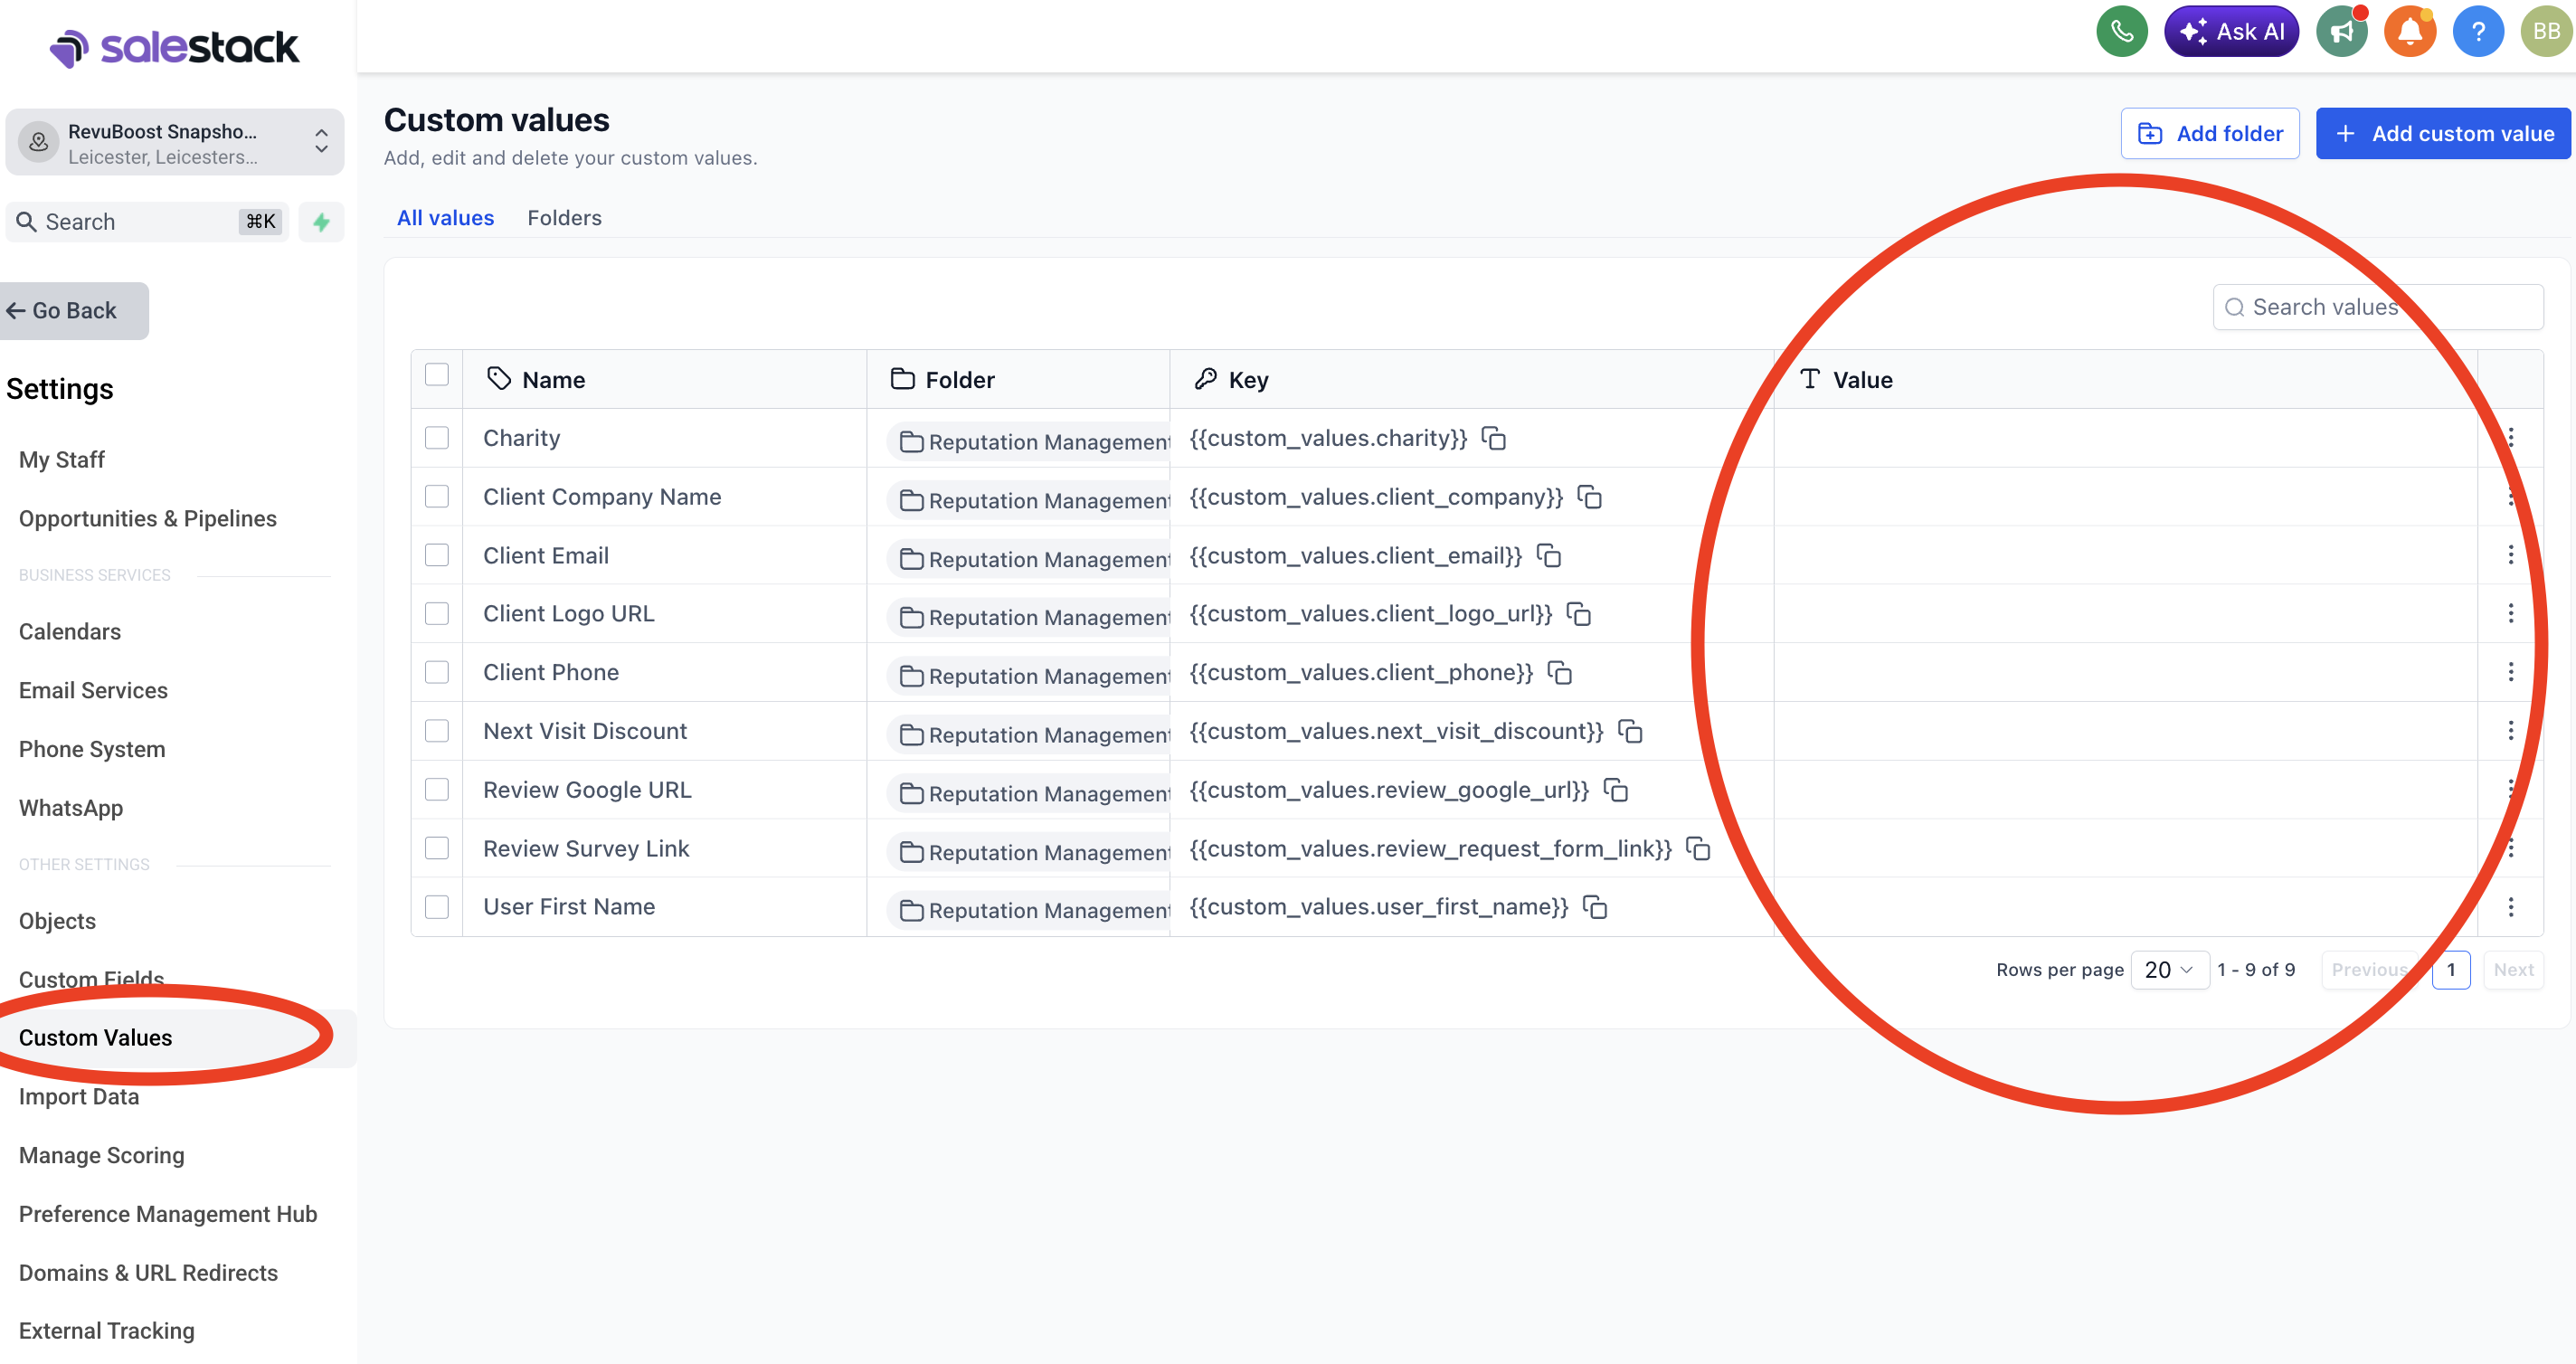
Fill out the custom values
Custom values power the funnel, review request messages and automations. Fill these in before testing anything.
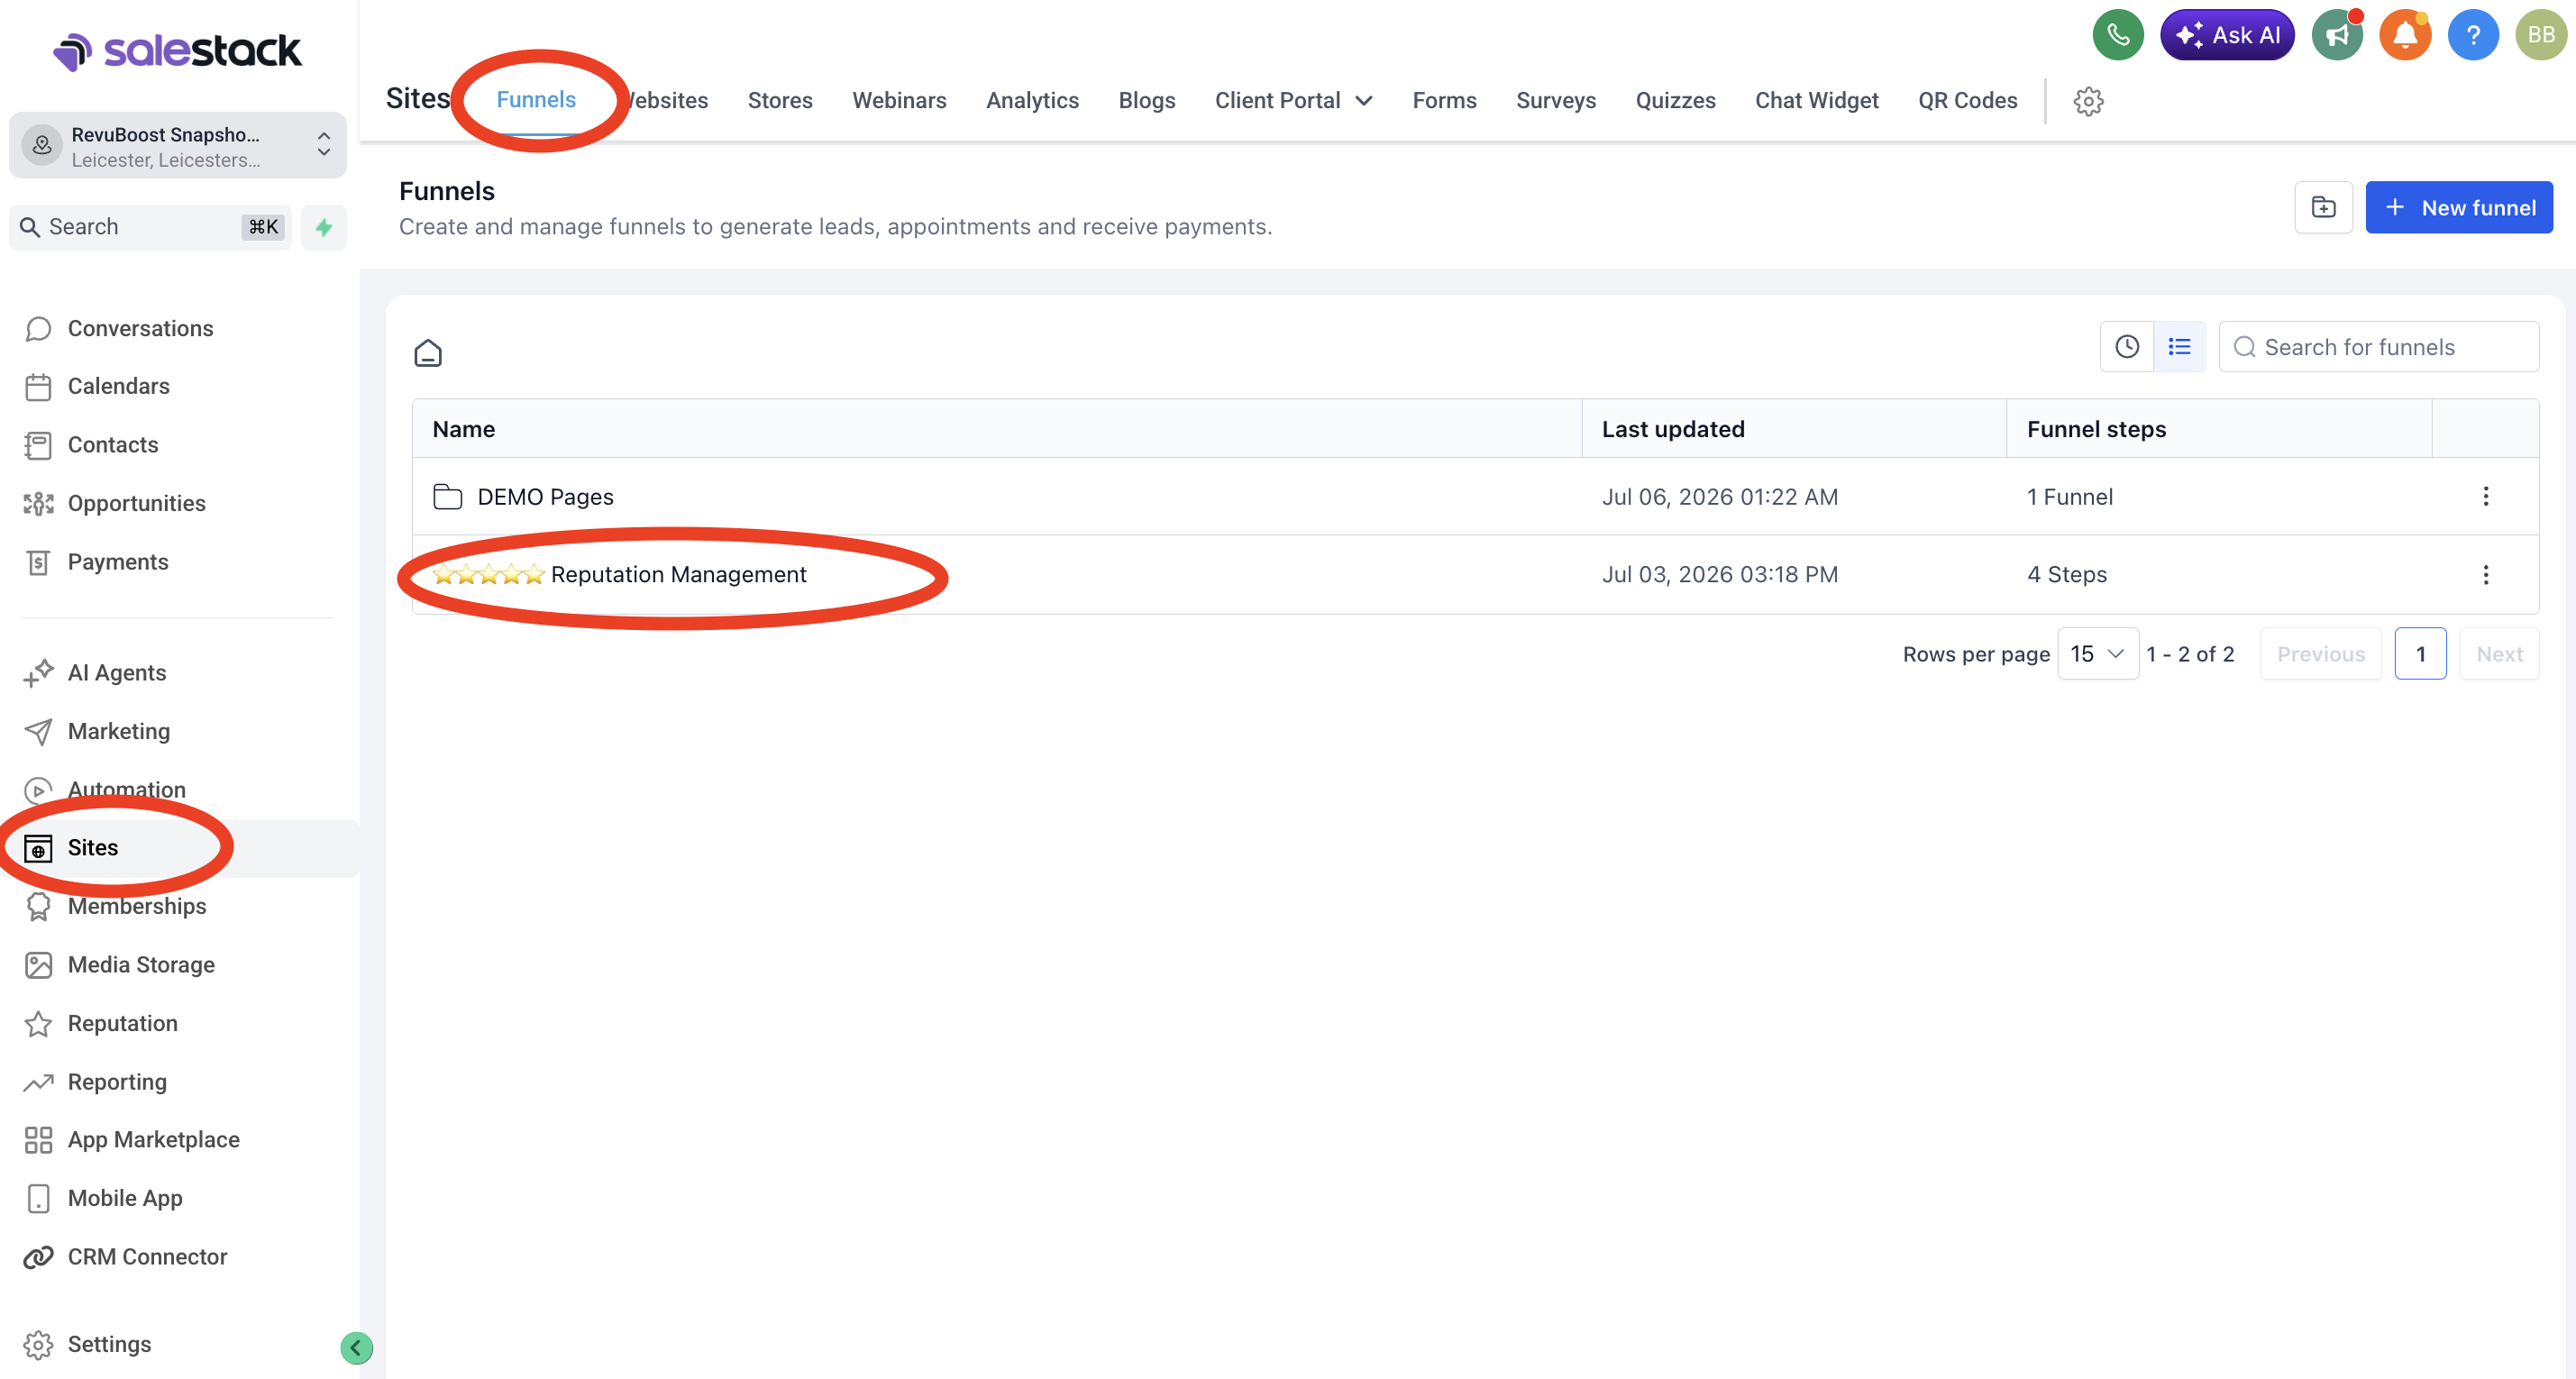
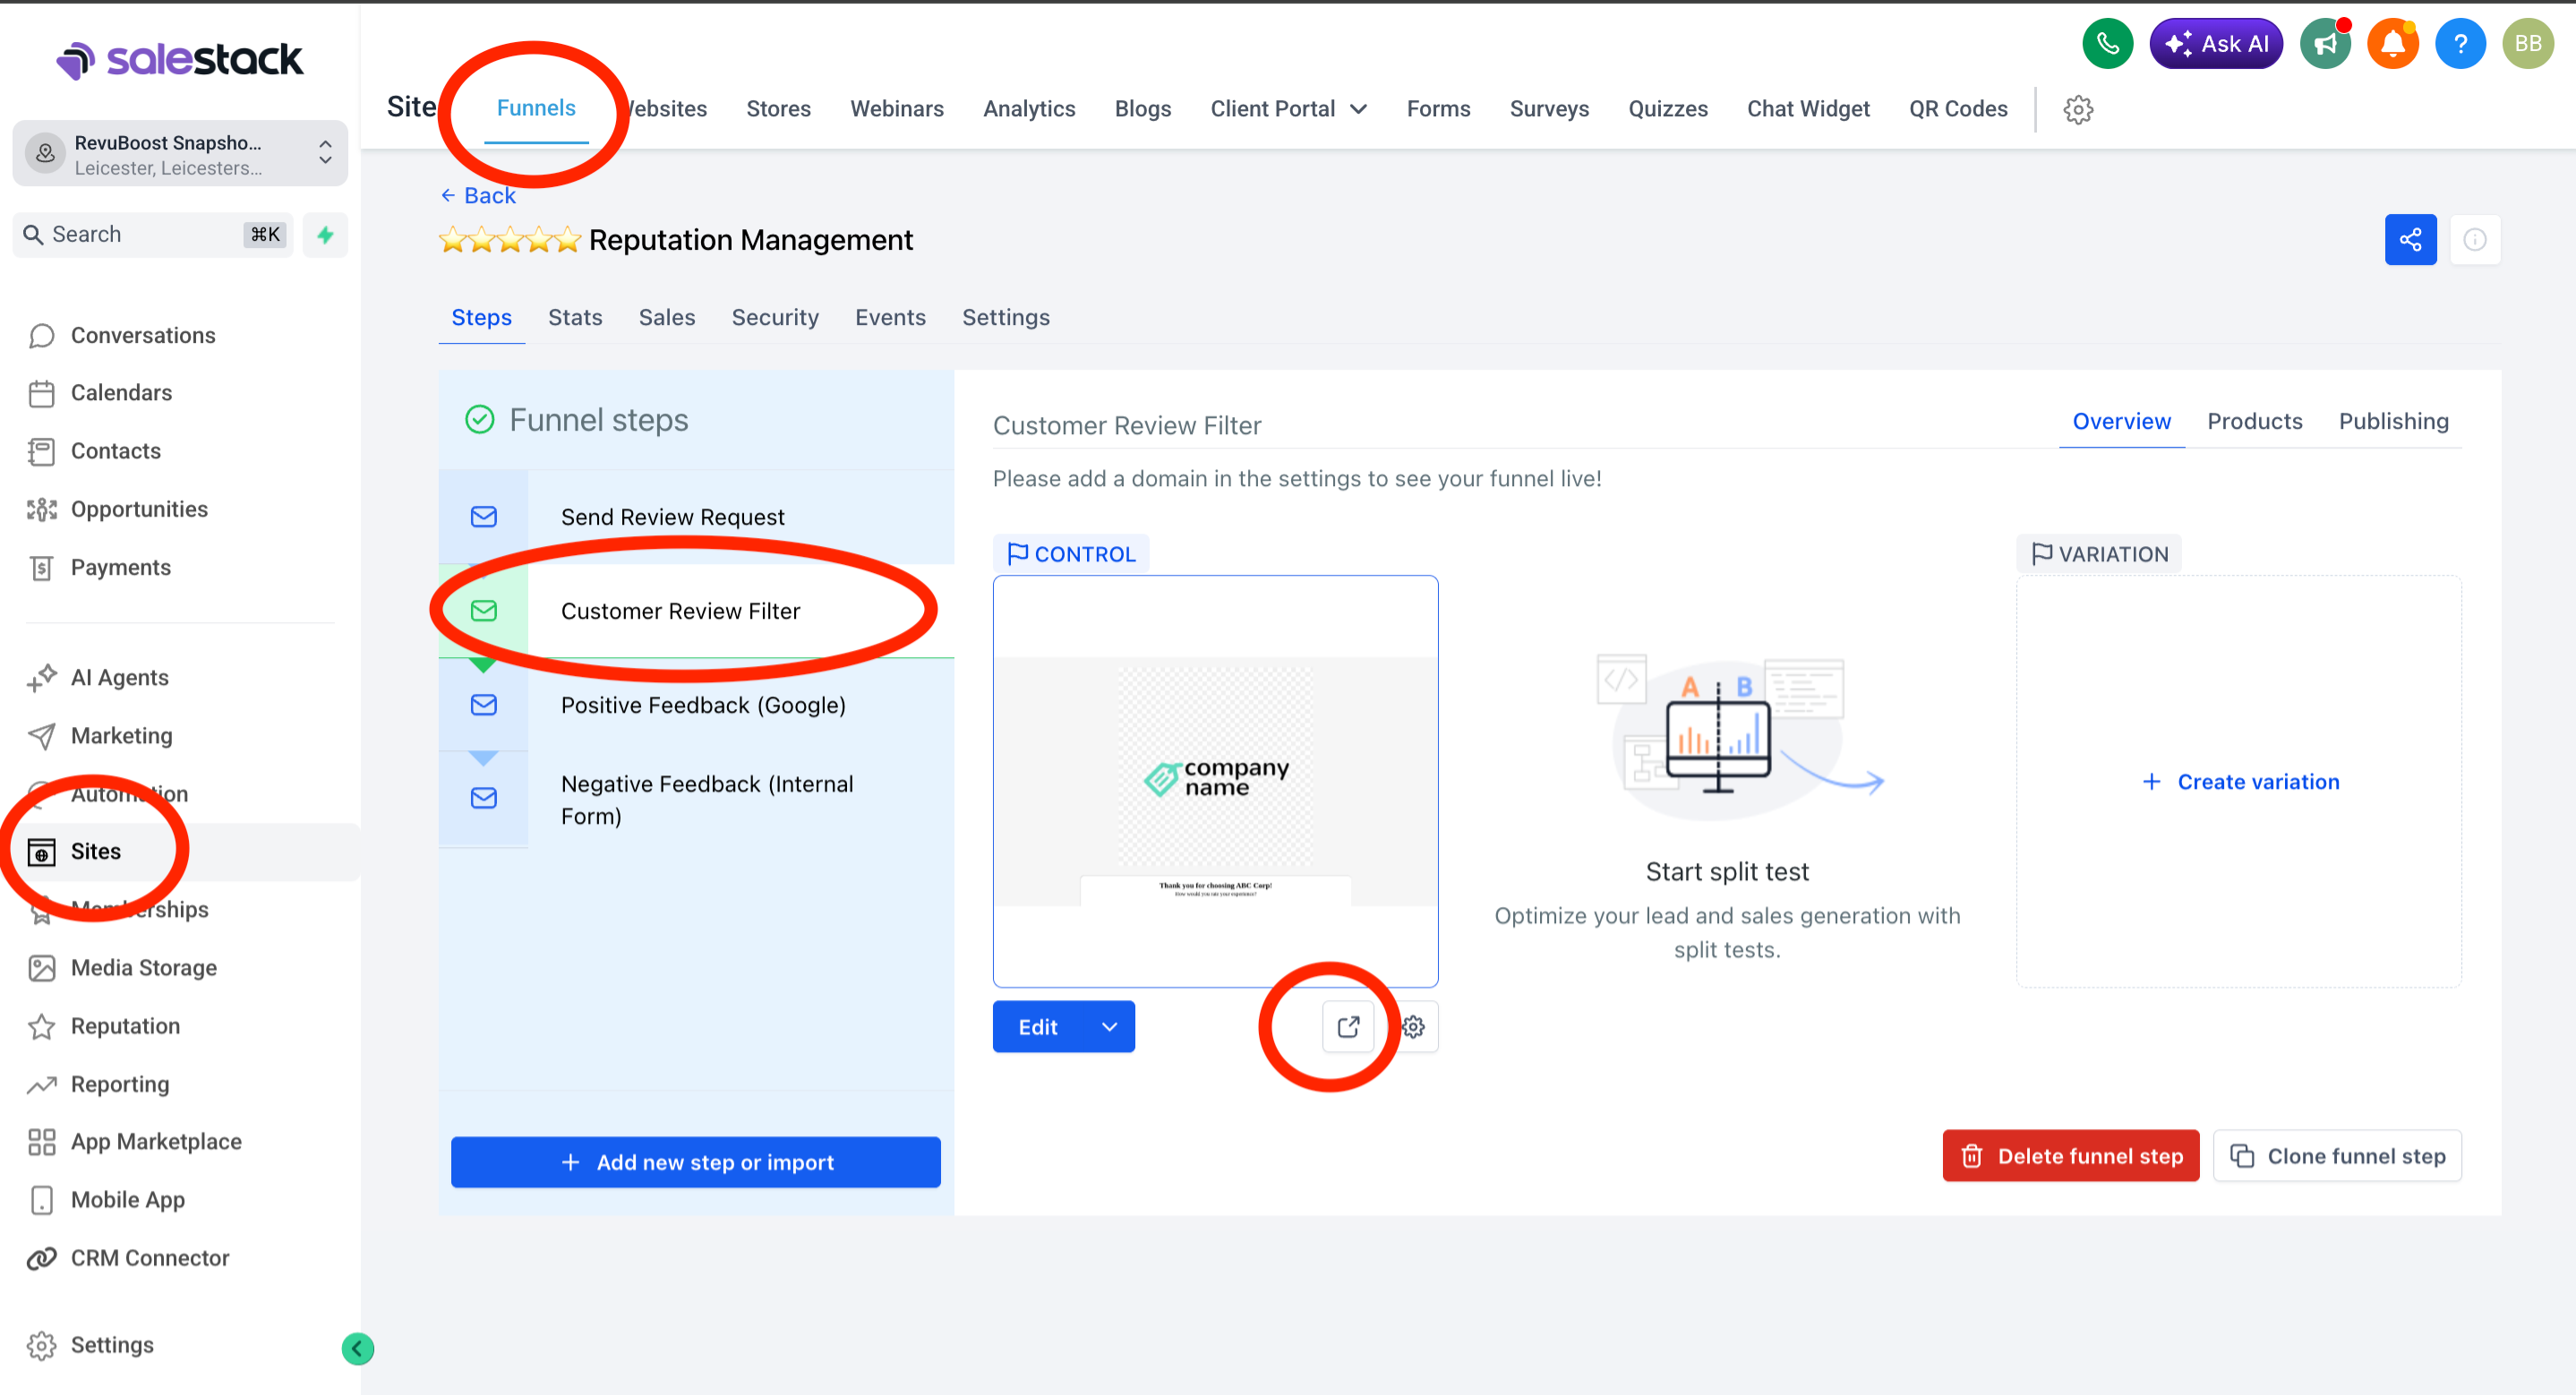
Copy the Review Survey Link
The Review Survey Link comes from the second funnel step called Customer Review Filter.
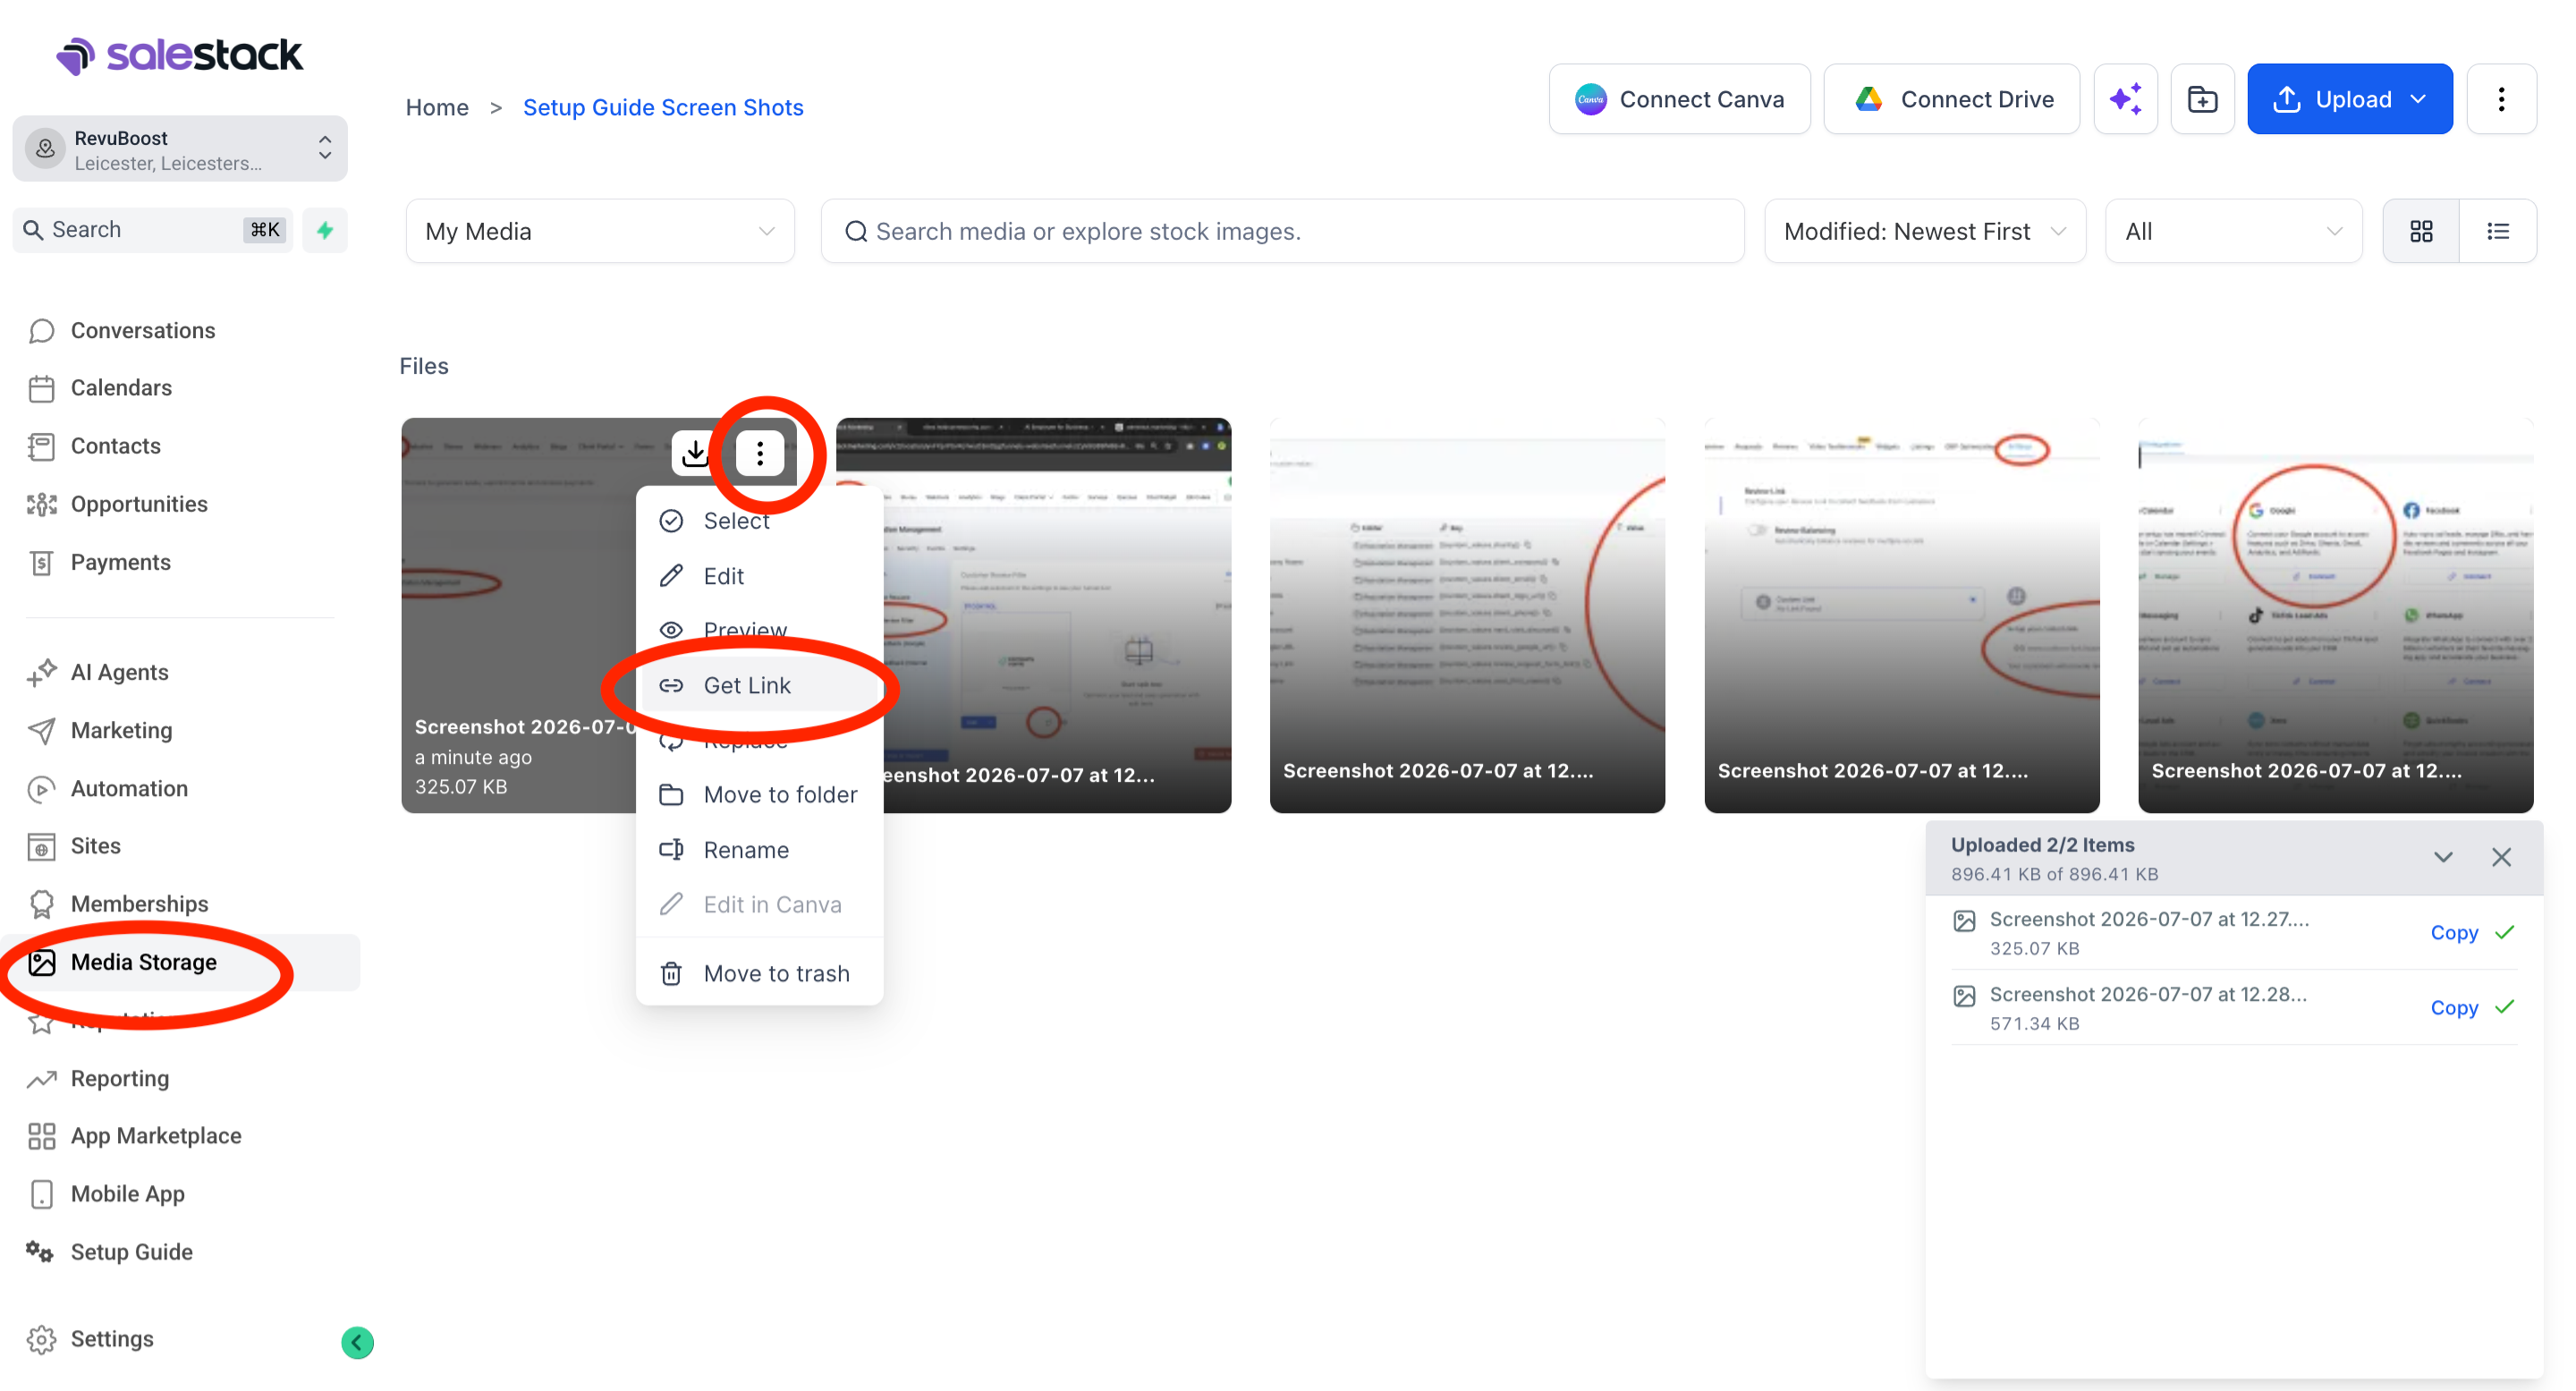
Upload the client logo and copy the logo URL
Upload the client’s PNG logo into Media Storage, copy the file link and paste it into the Client Logo URL custom value.
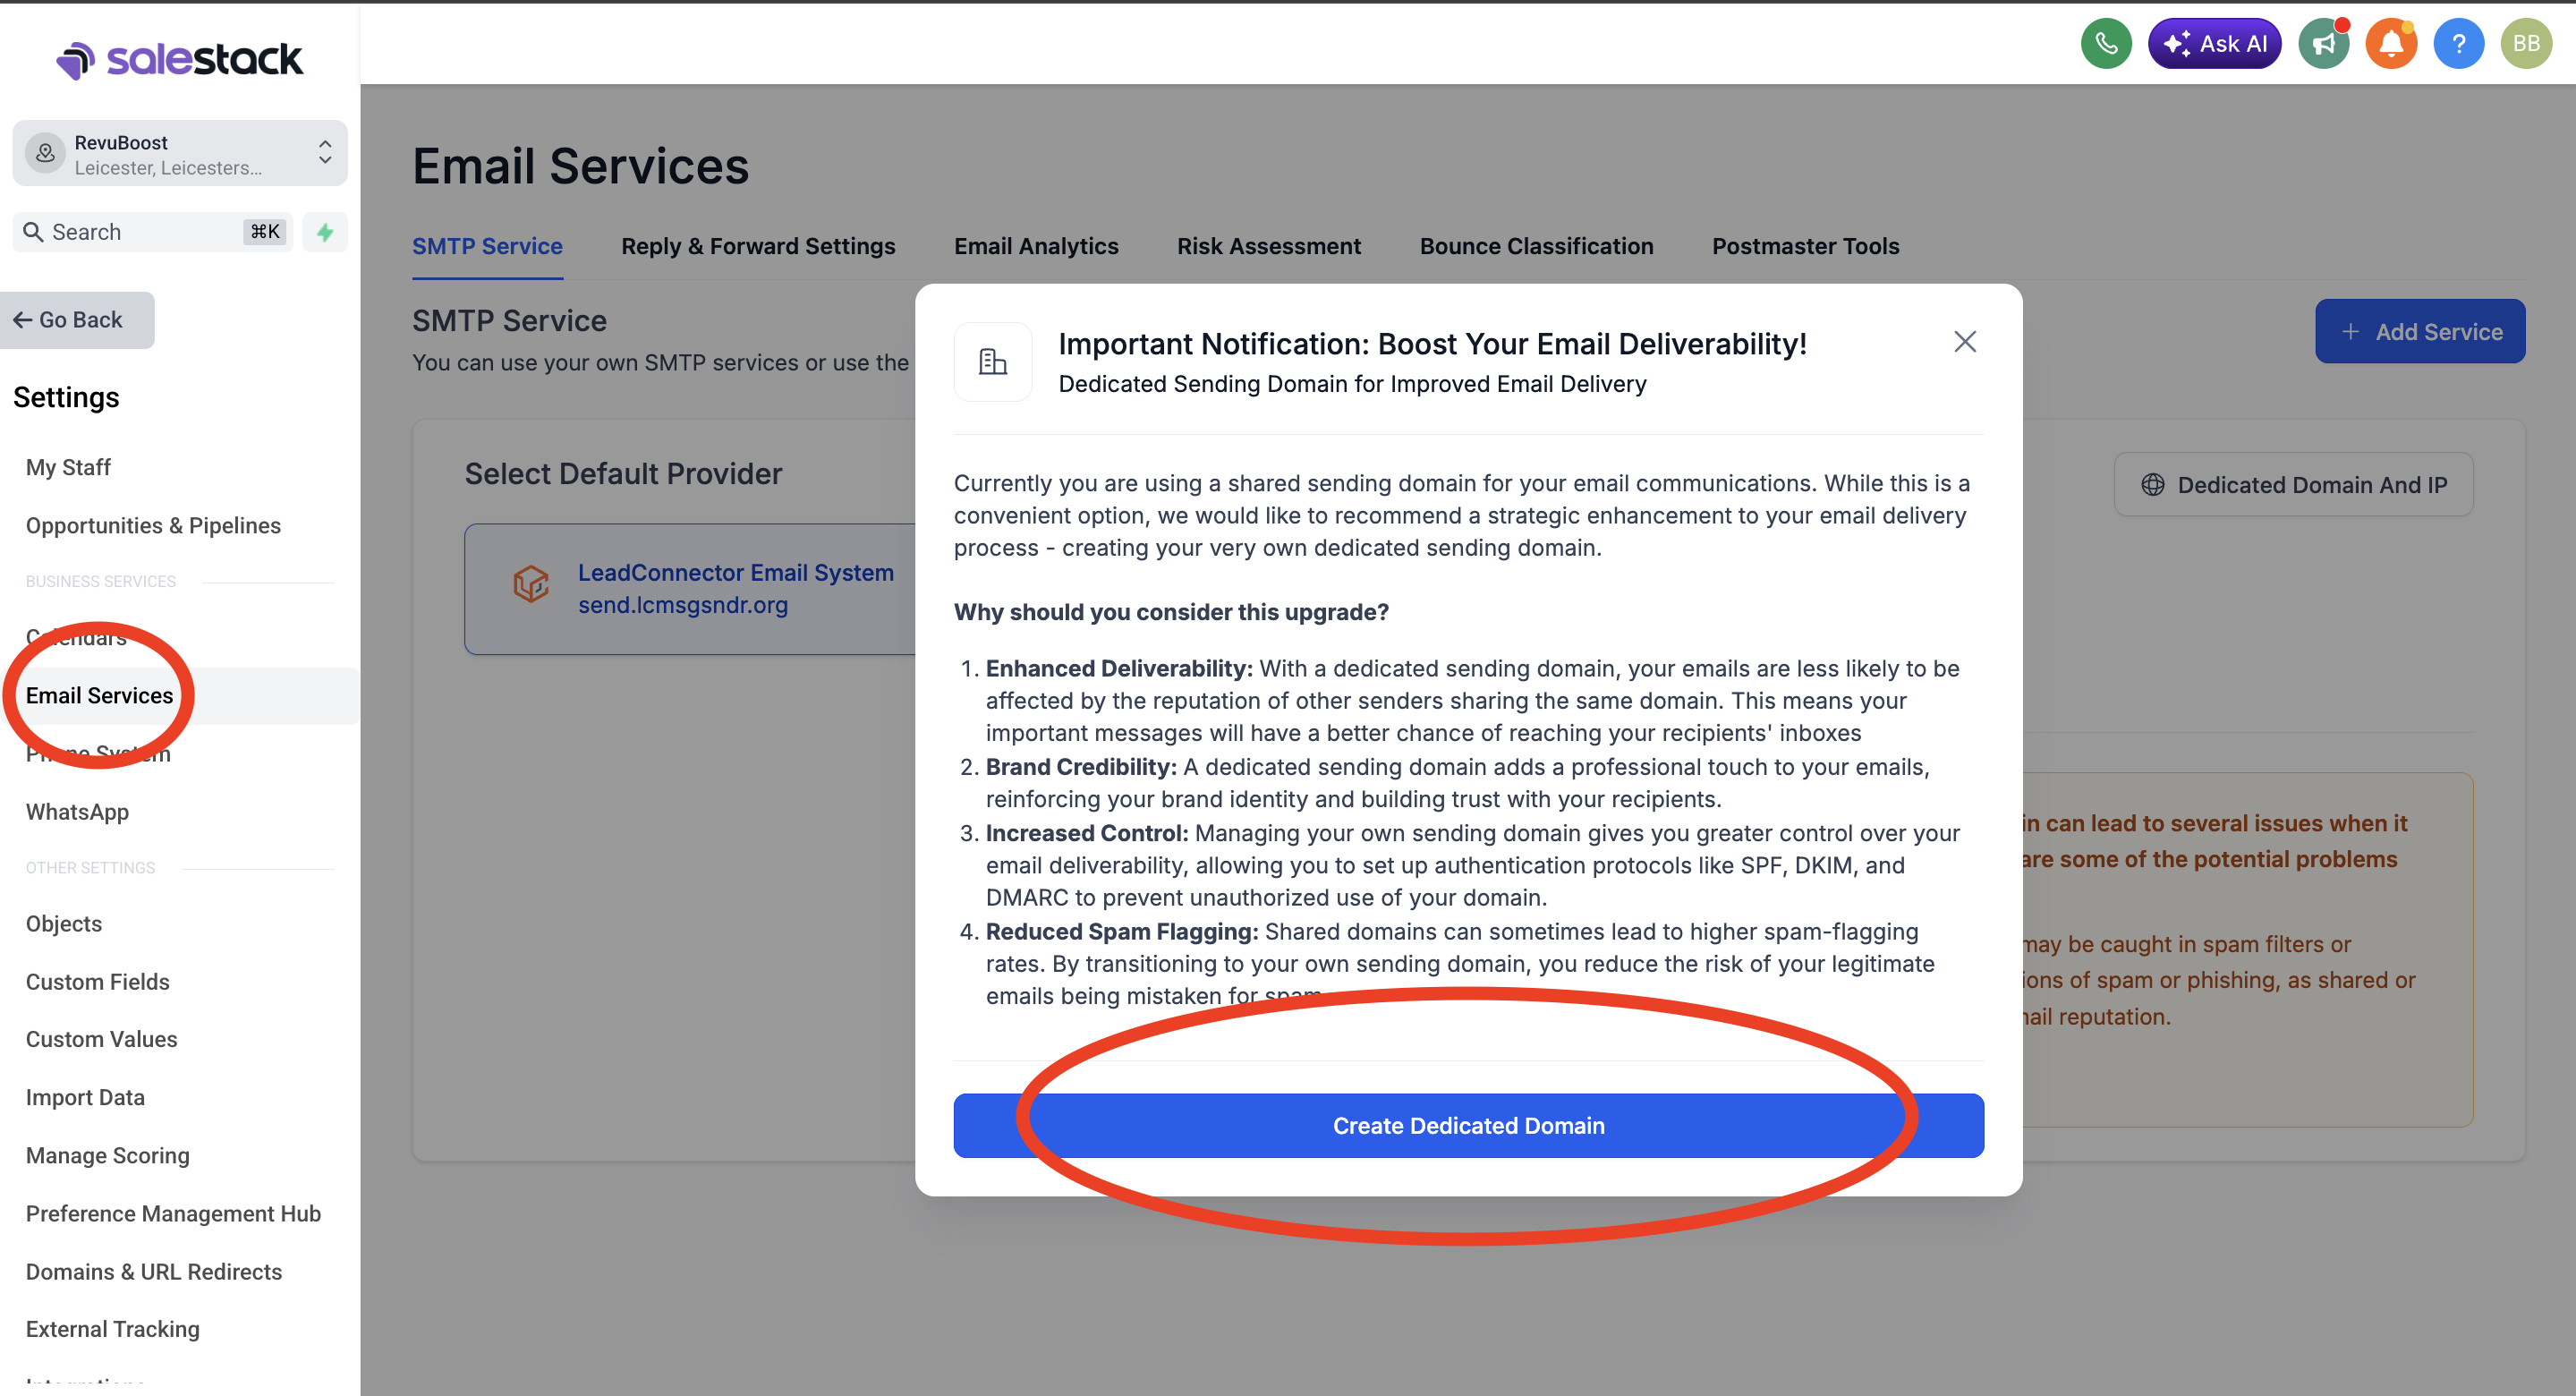
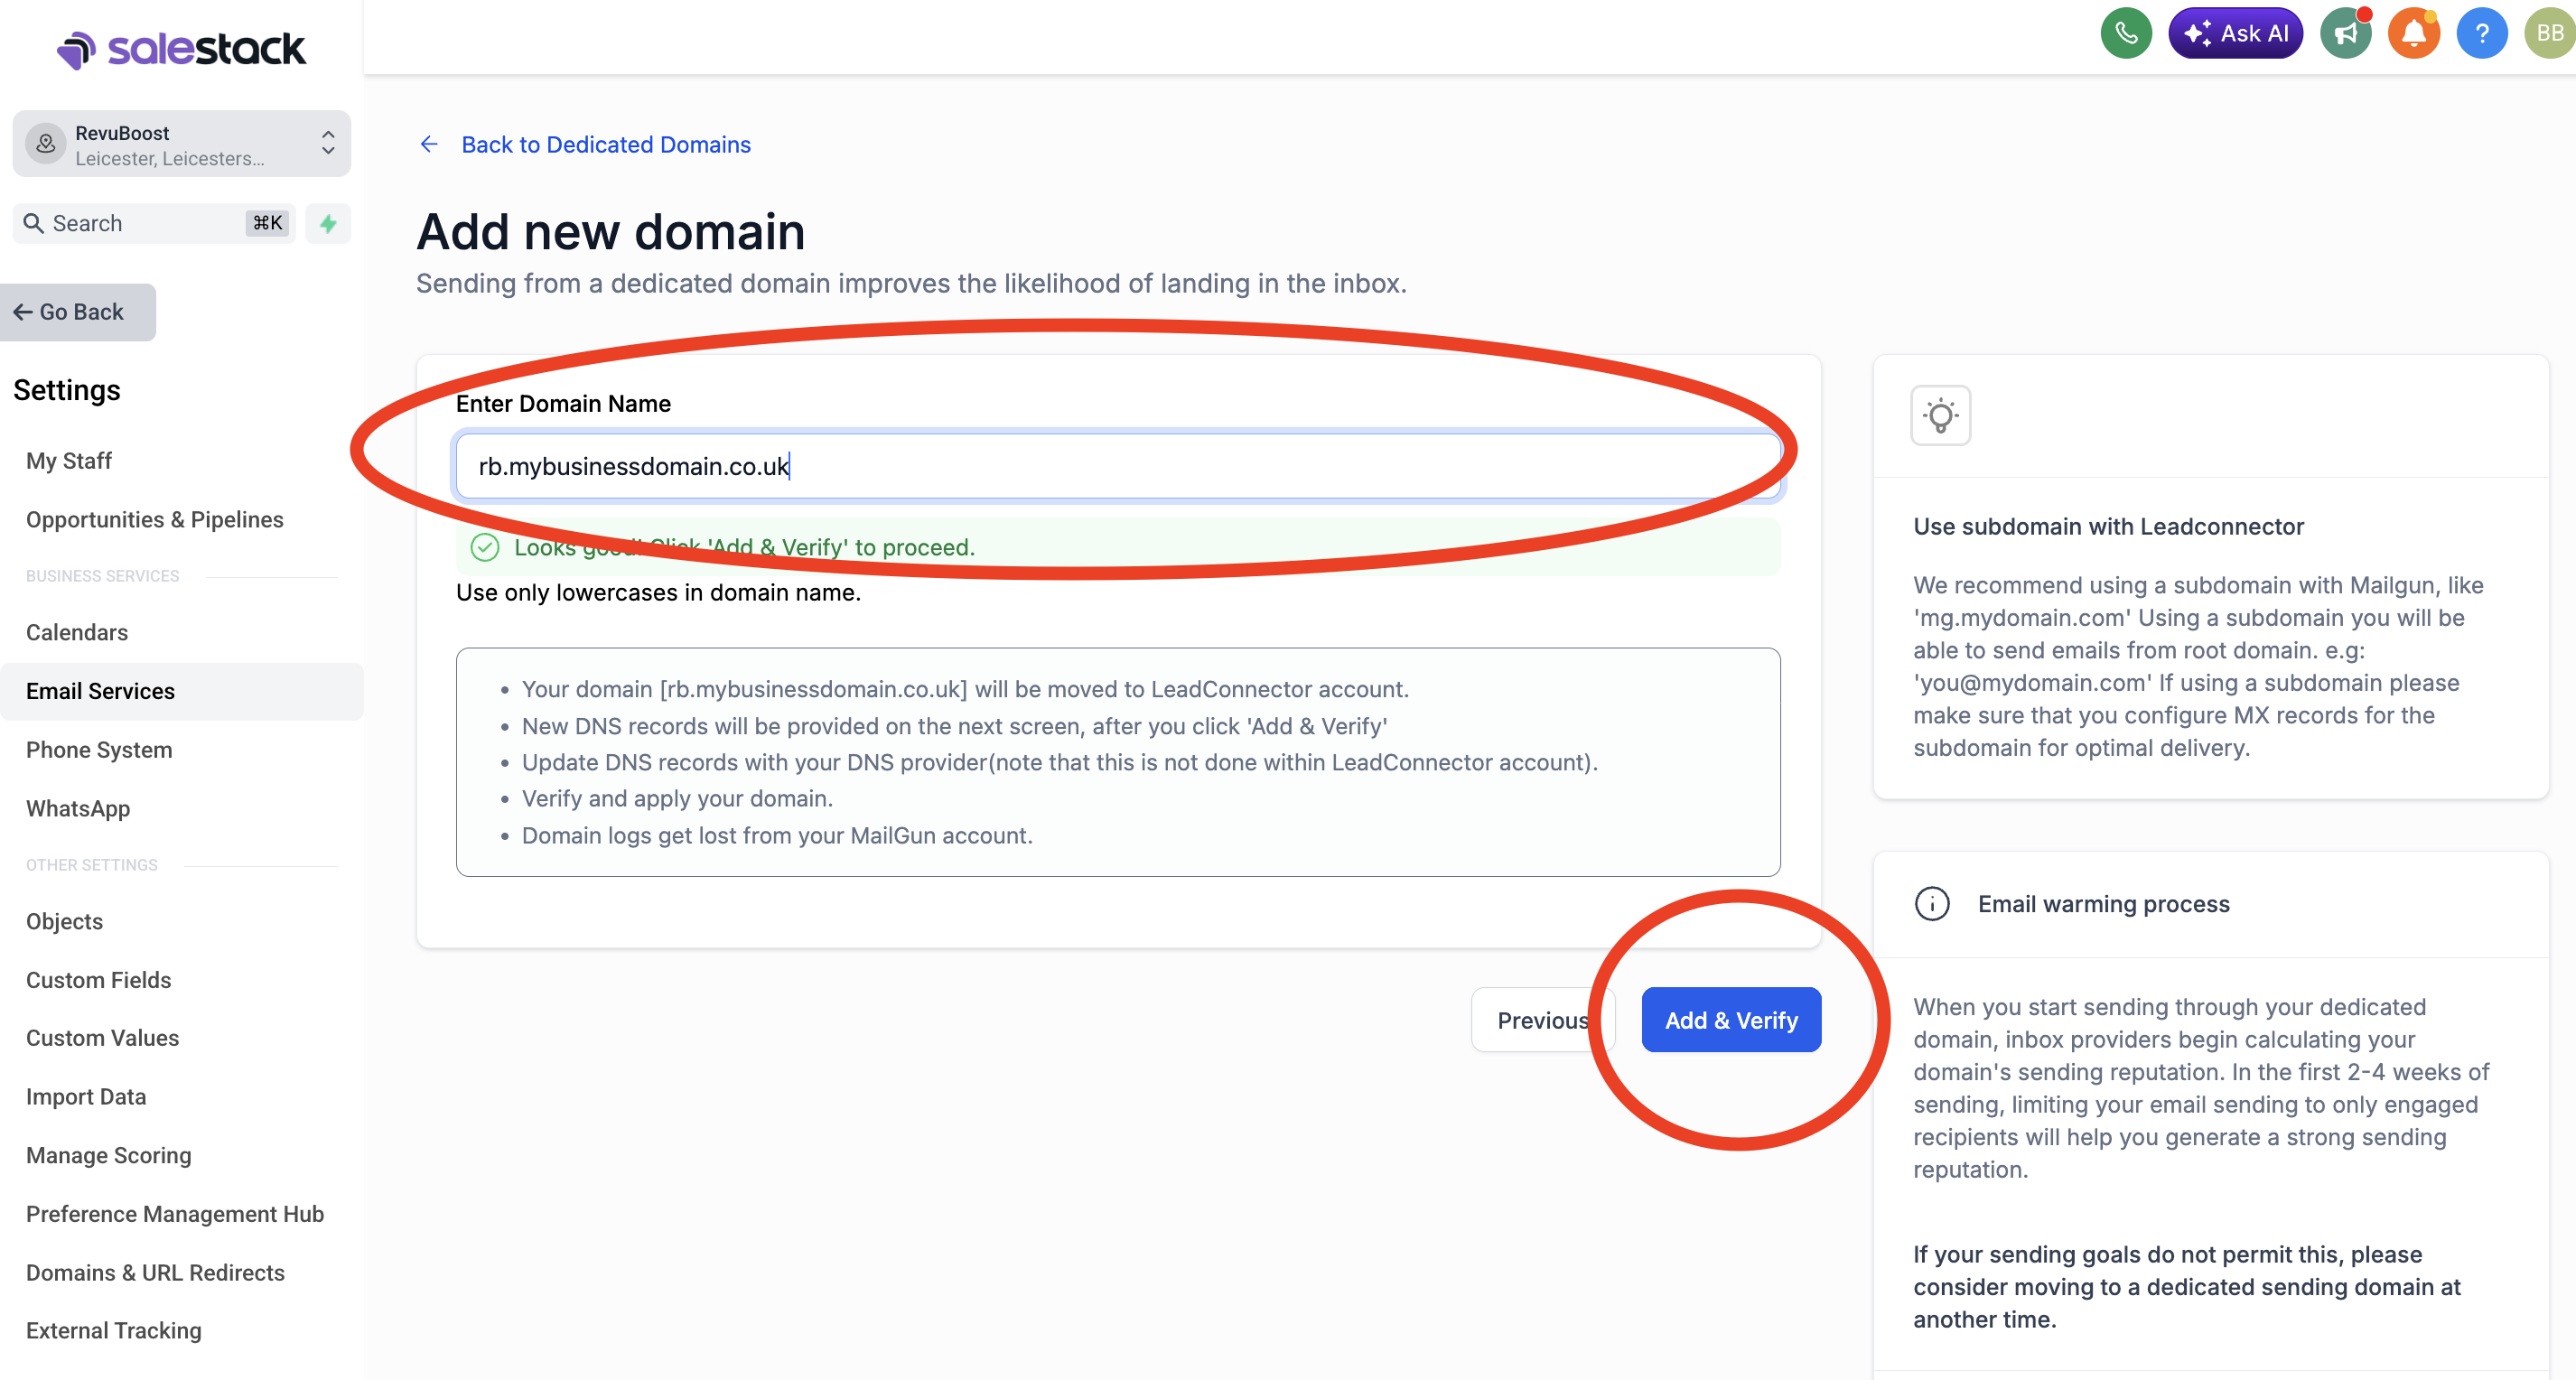
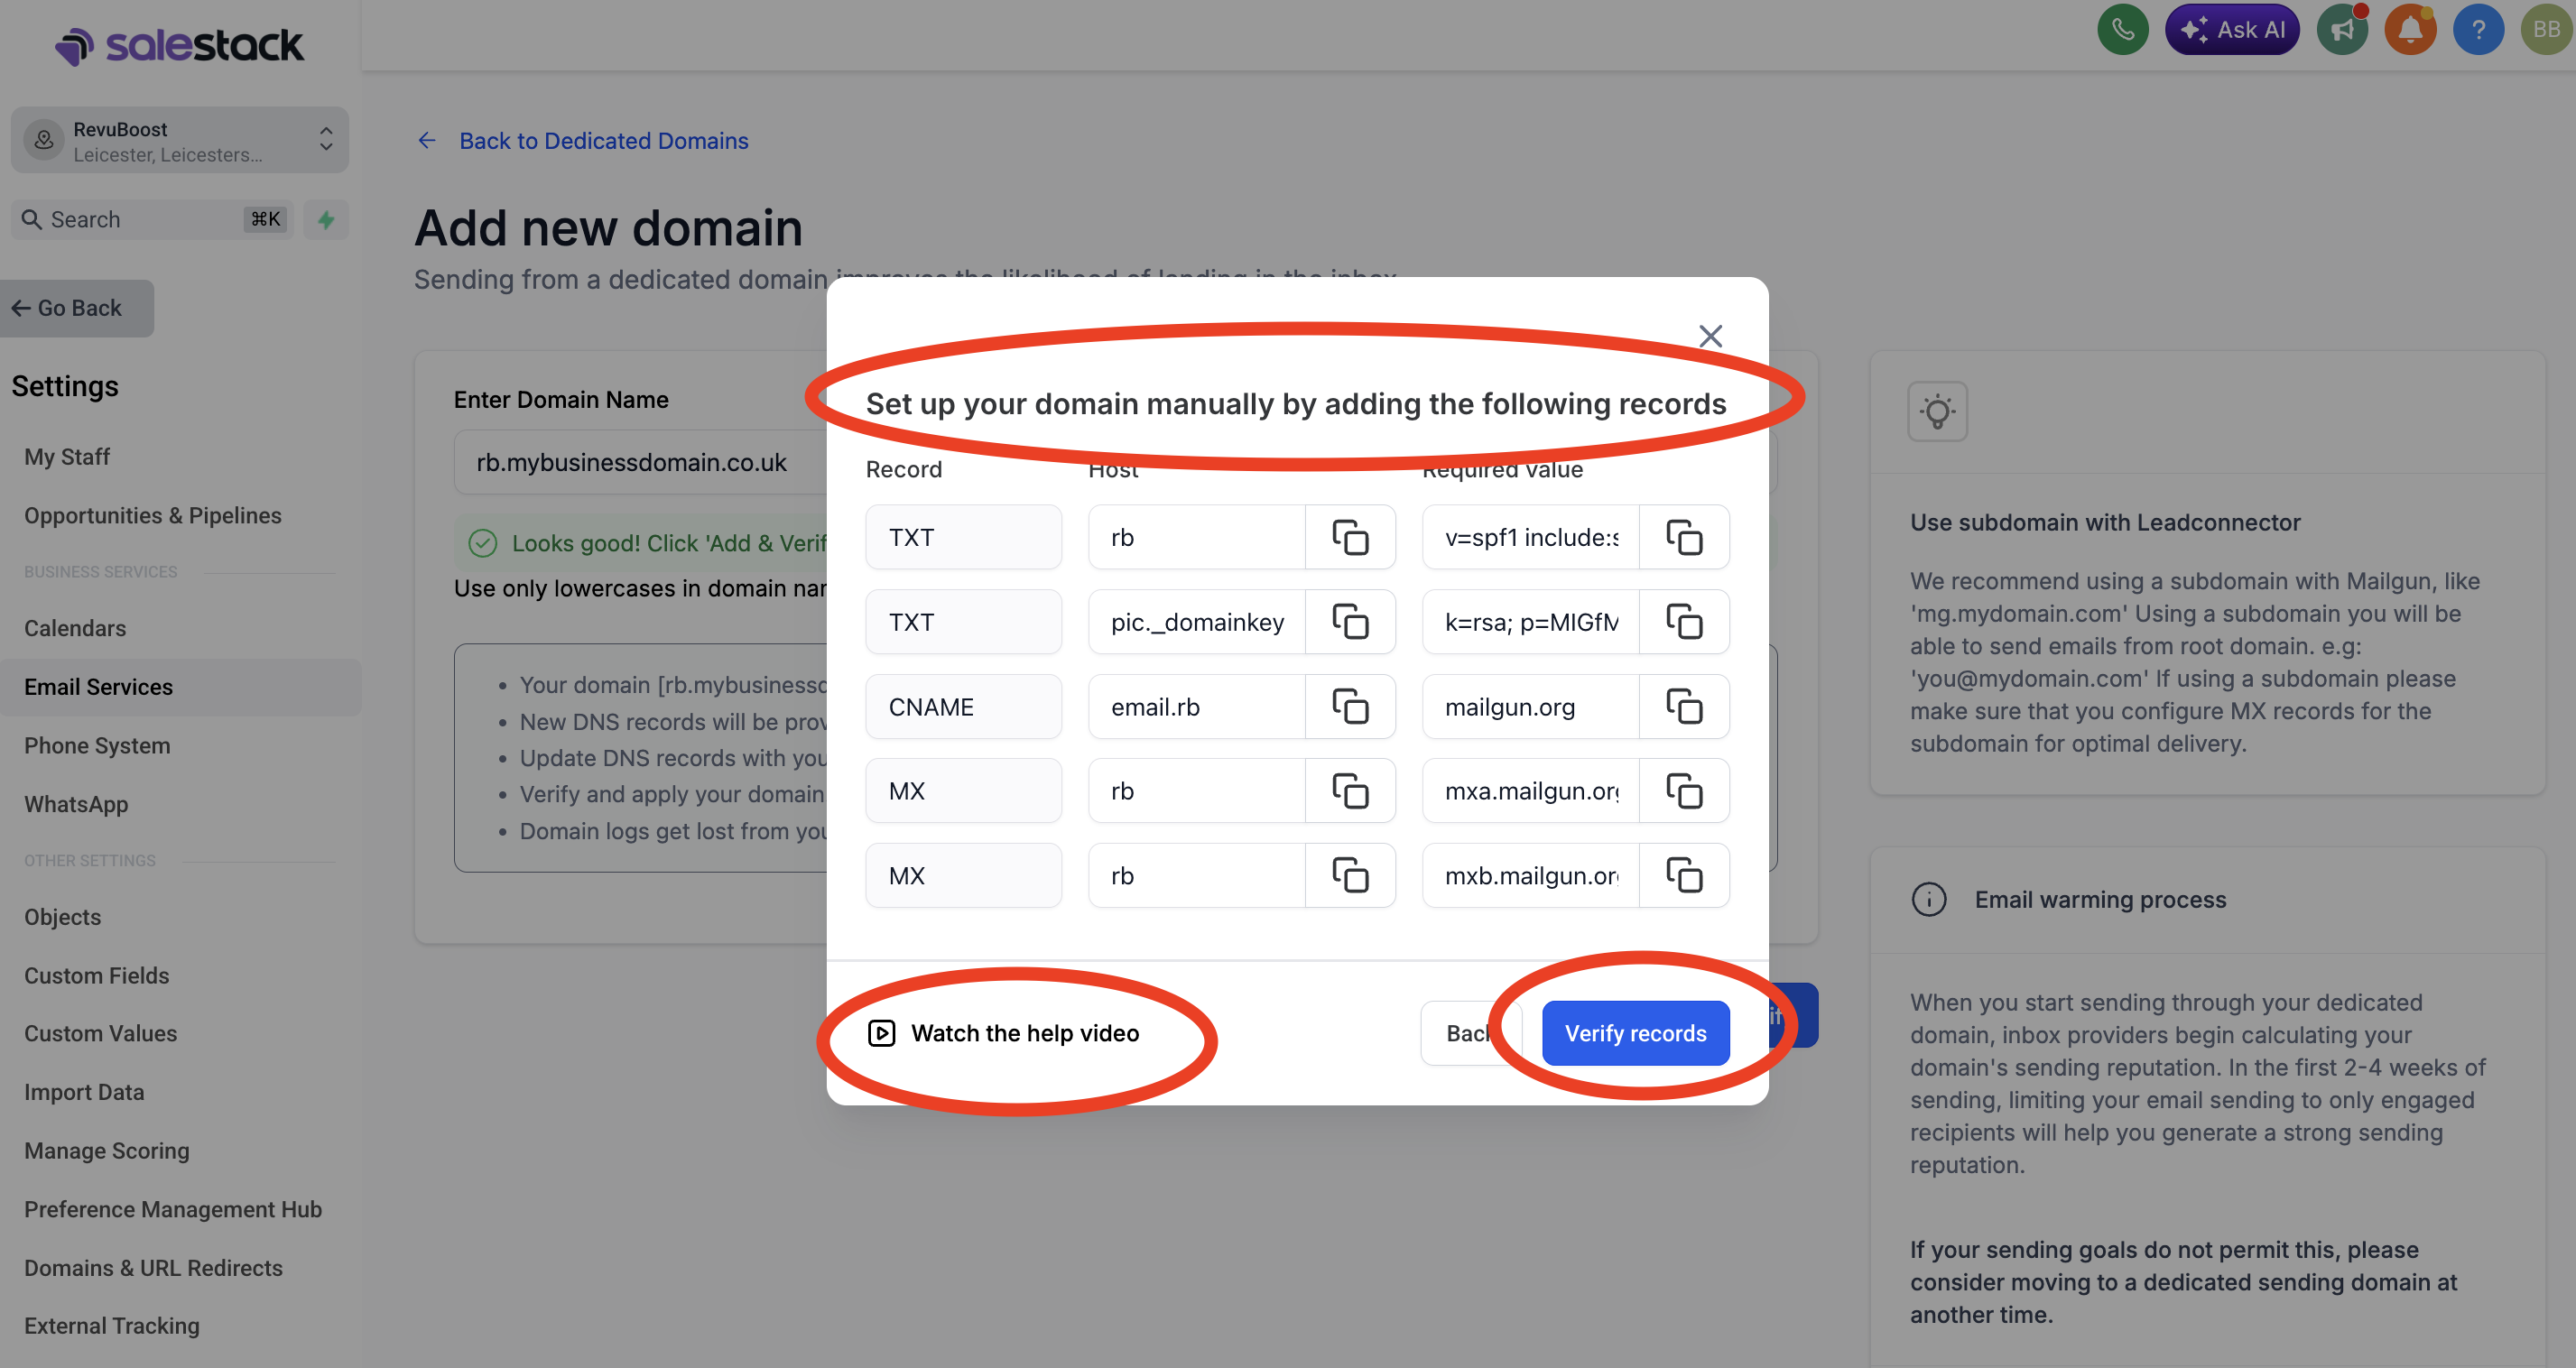
Set up custom email sending
Email review requests should ideally send from the client’s own business domain for better trust and deliverability.
Set up phone number and SMS verification
SMS review requests need the correct phone number, regulatory bundle and verification setup before sending to real customers.
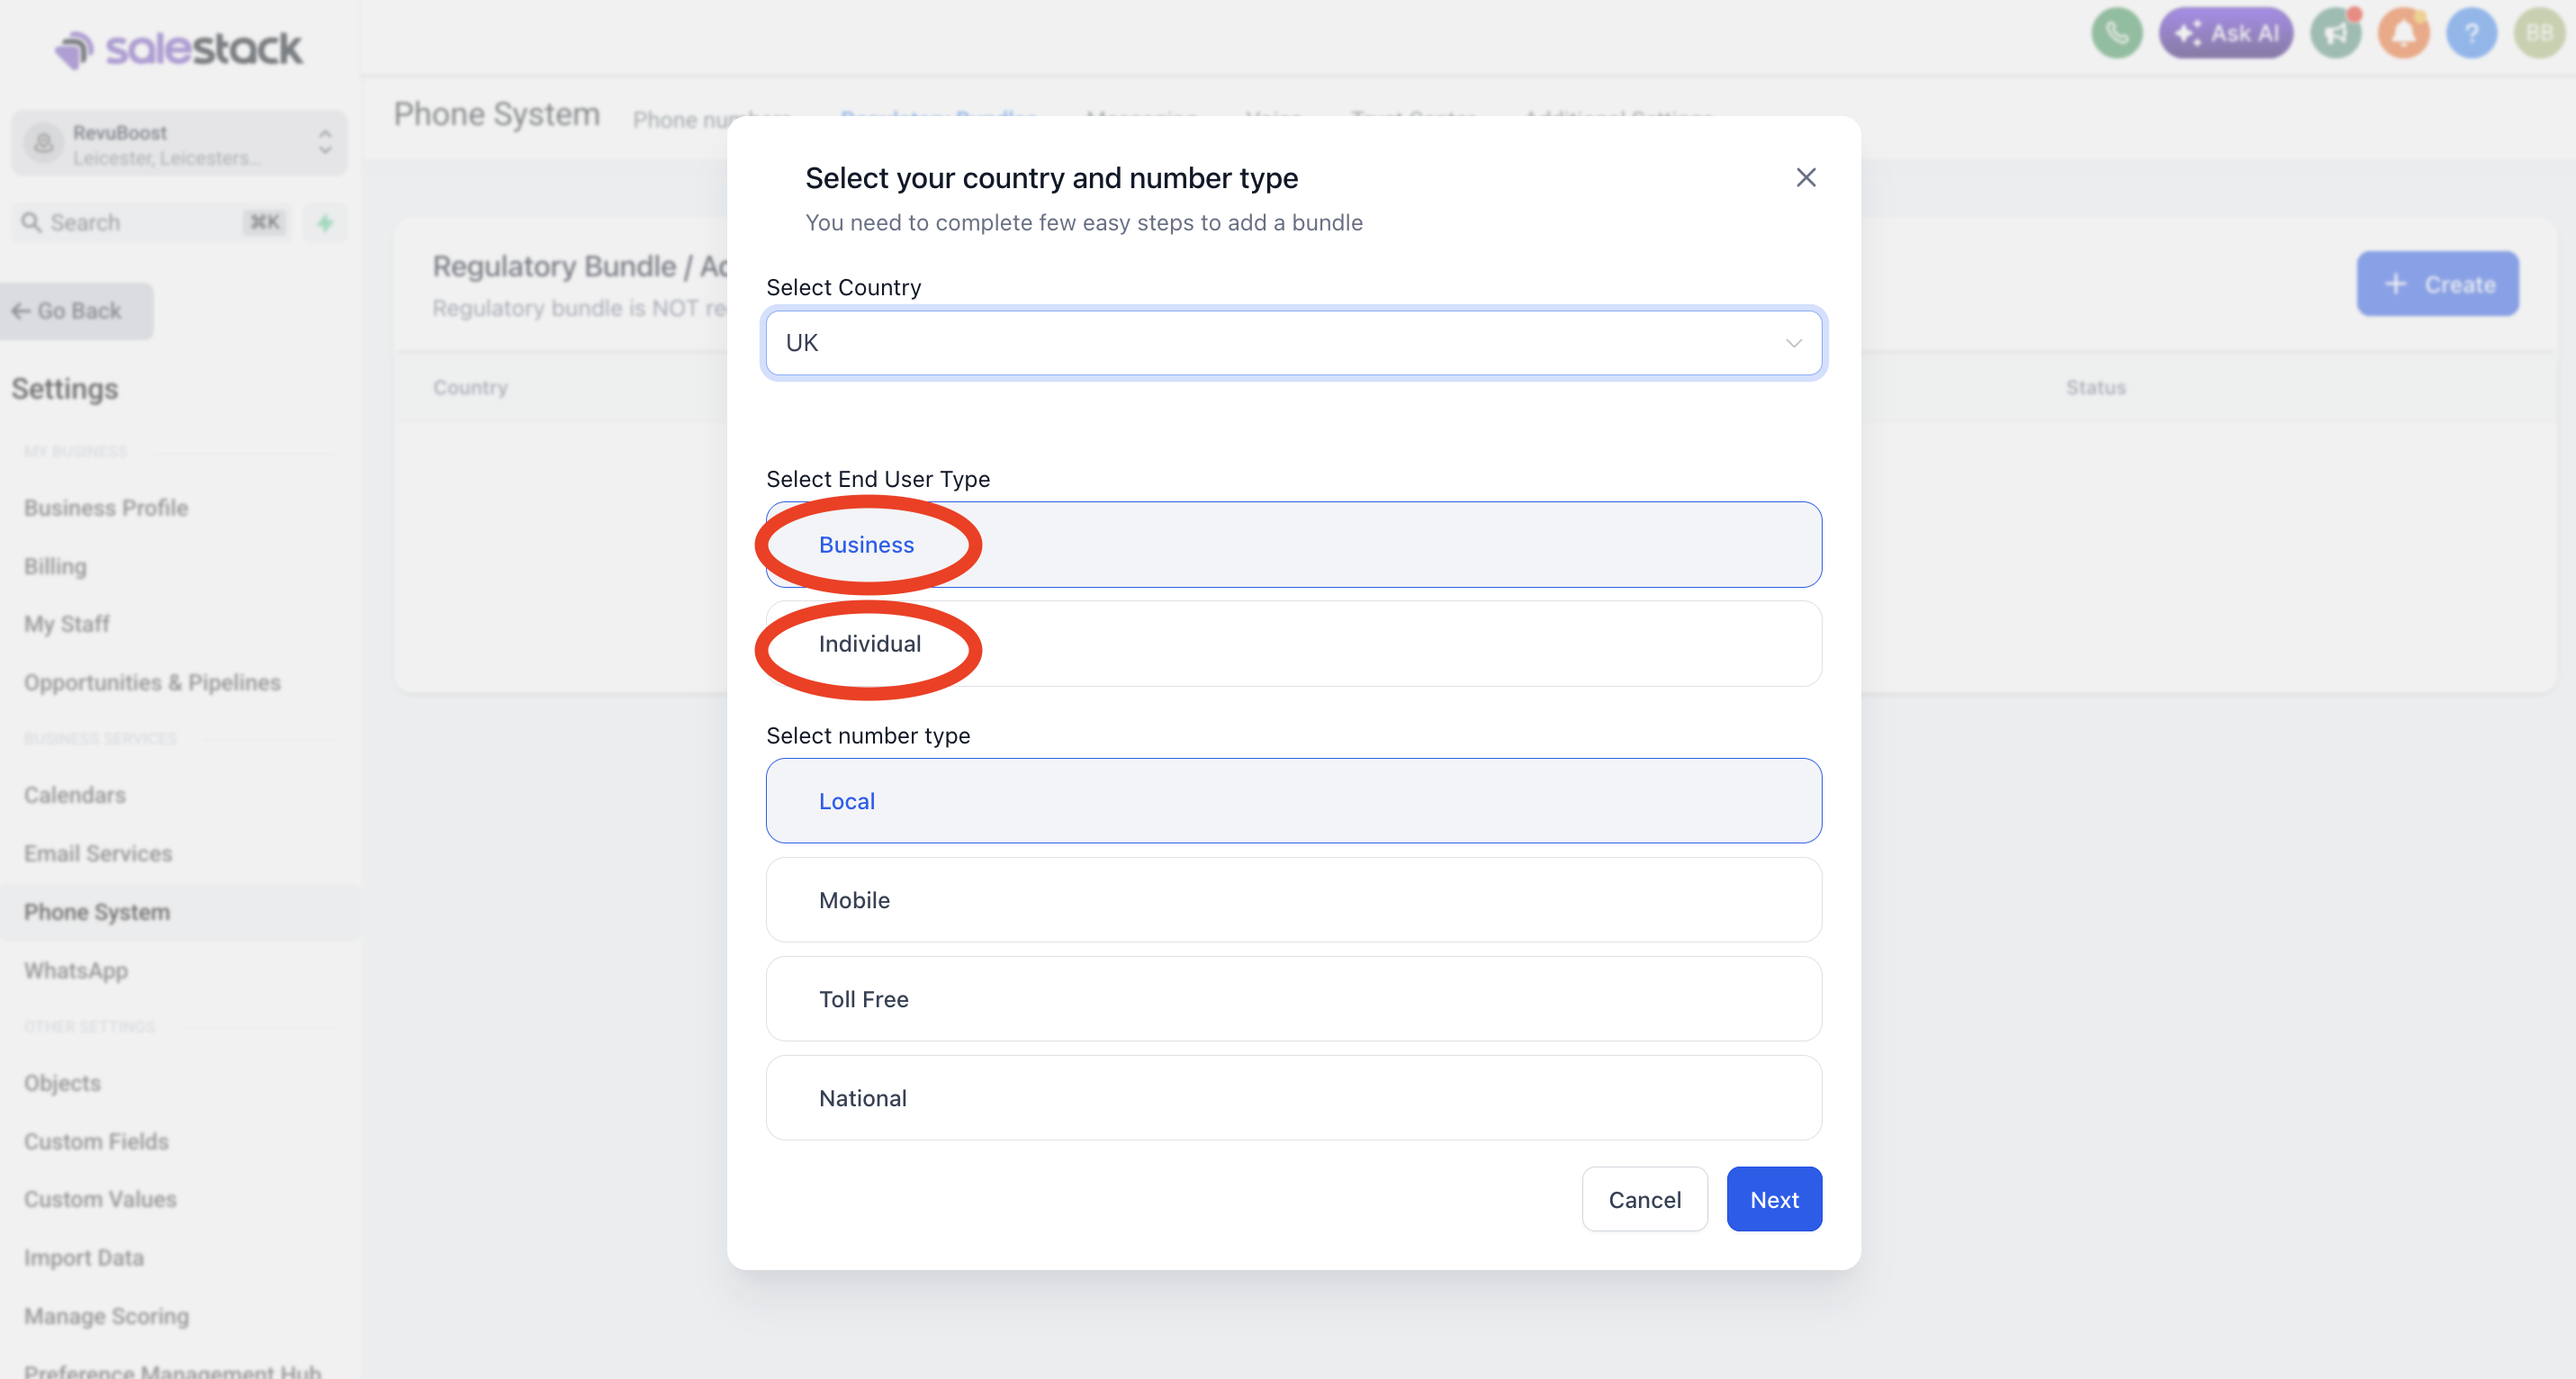
When to select Business
Select Business when the client has registered business documents or formal company details.
When to select Individual
Select Individual when the client is a sole trader or individual without registered company documents.
Hi {{contact.first_name}}, thanks for choosing {{custom_values.client_company_name}}. Could you leave us quick feedback here? {{custom_values.review_survey_link}} Reply STOP to opt out.
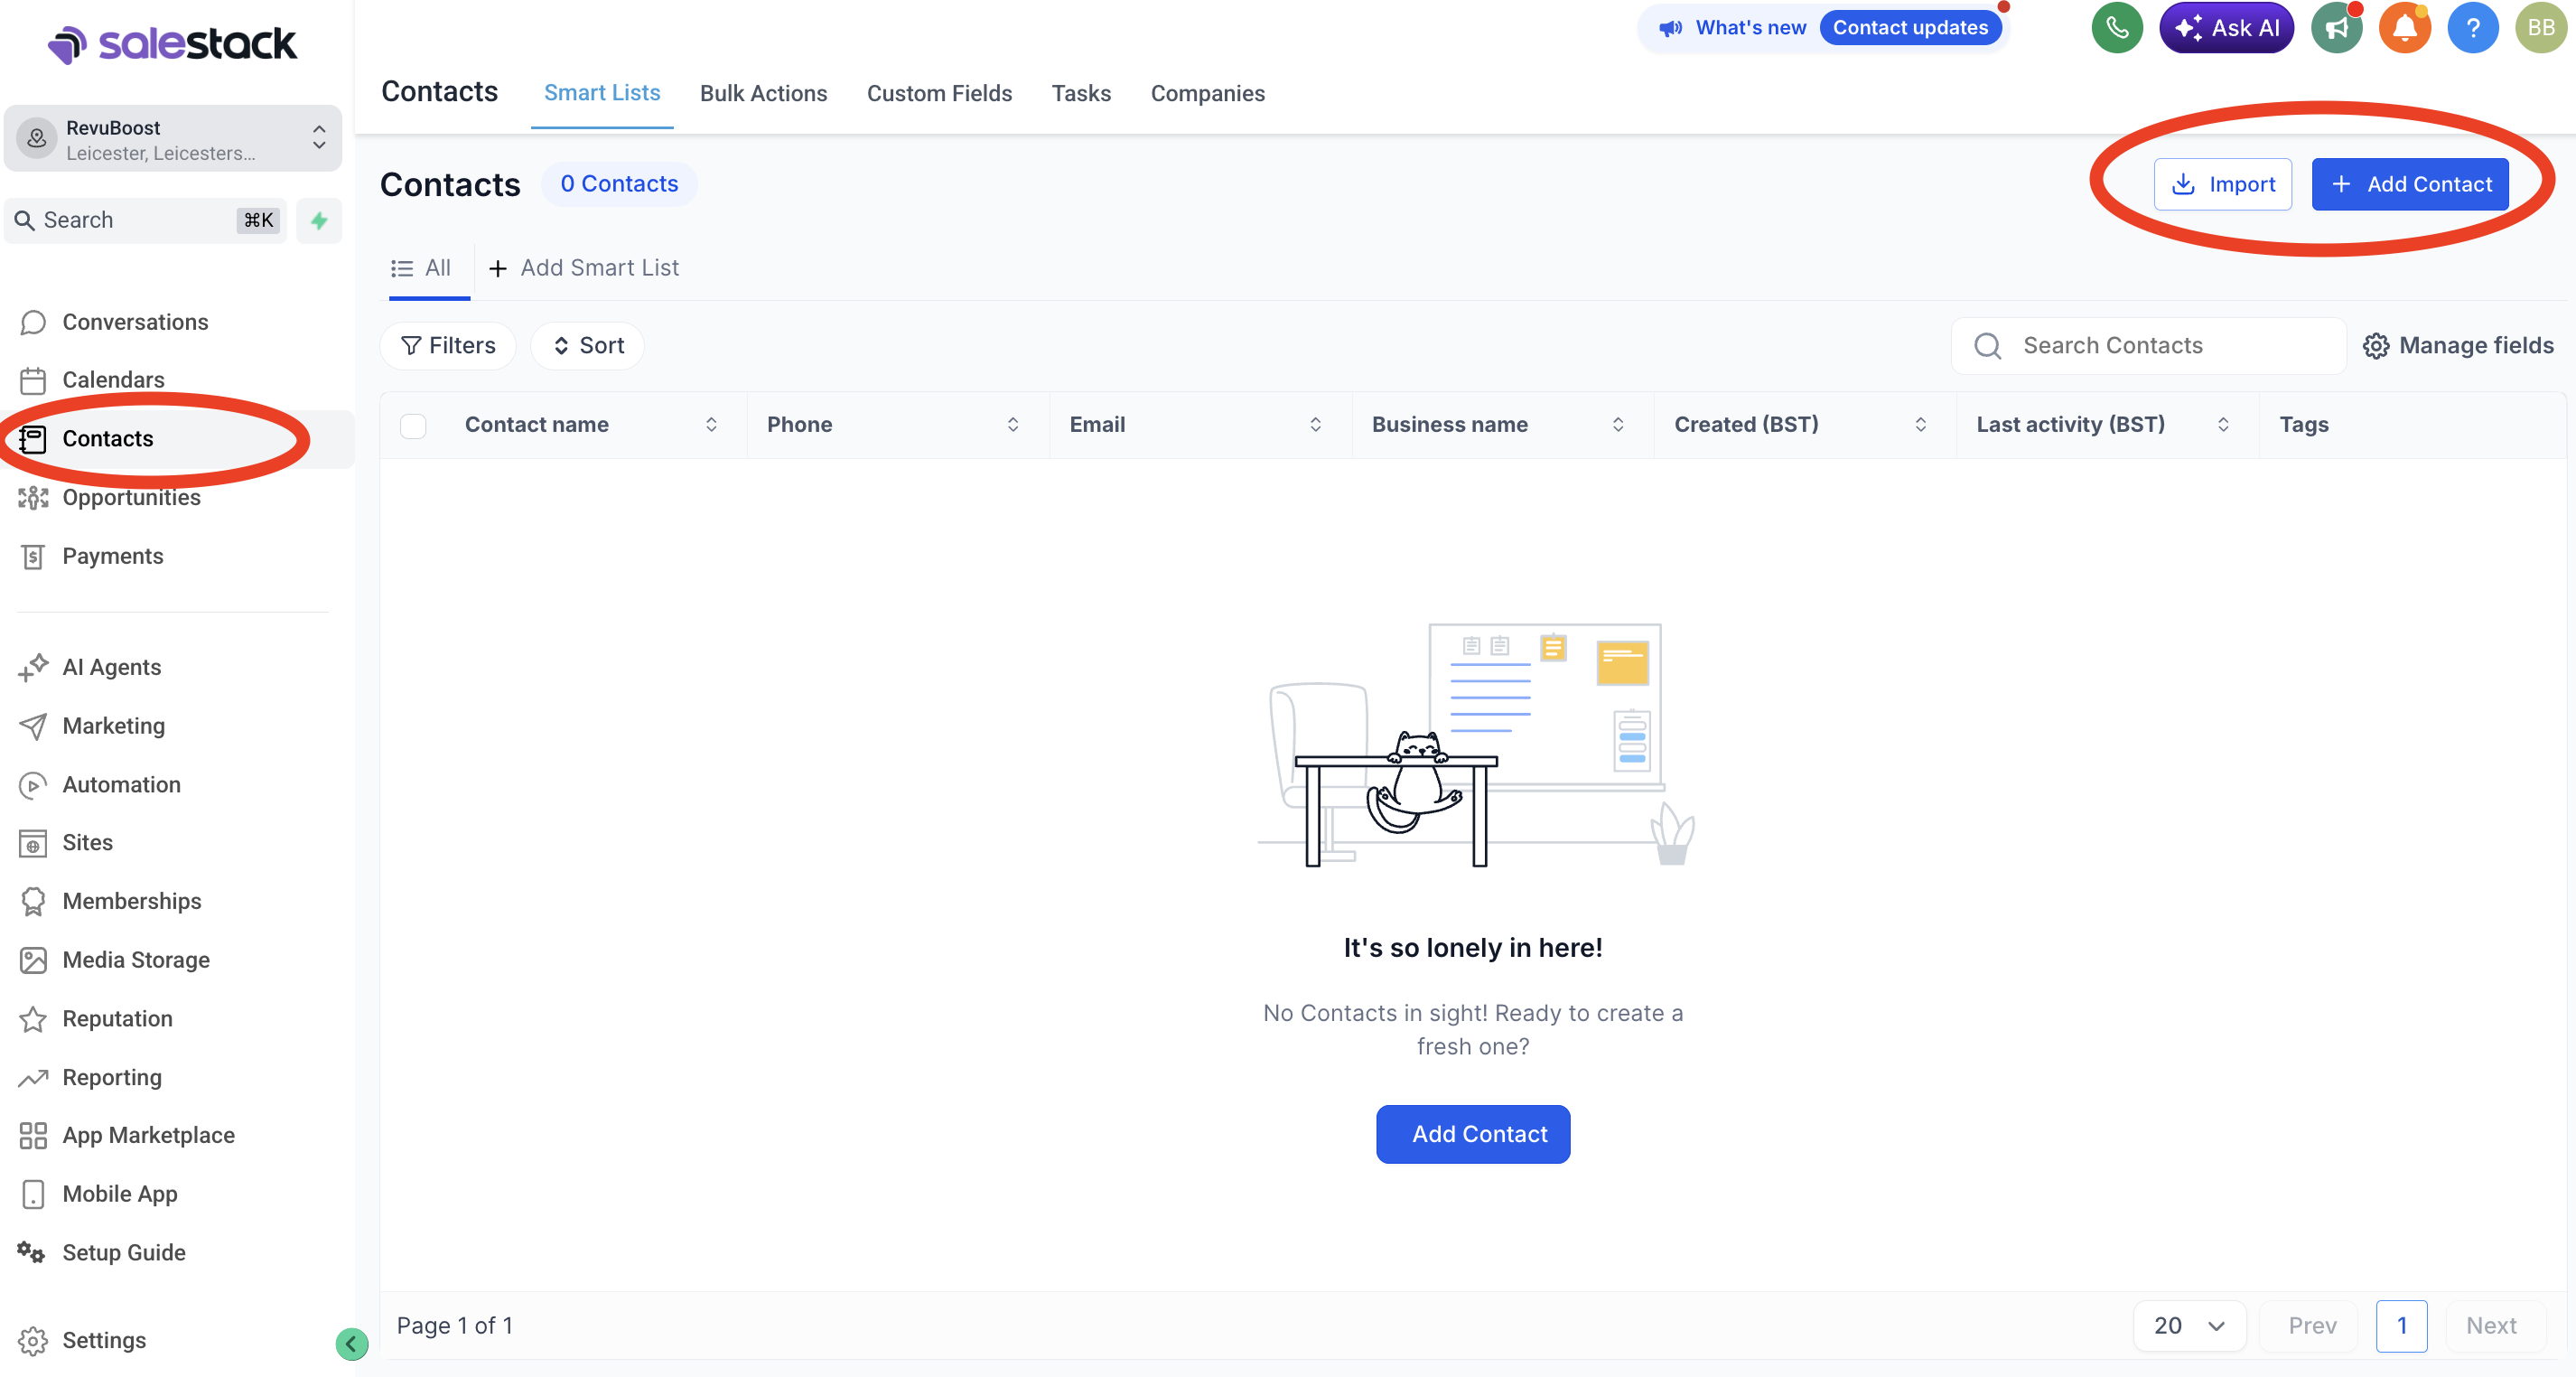
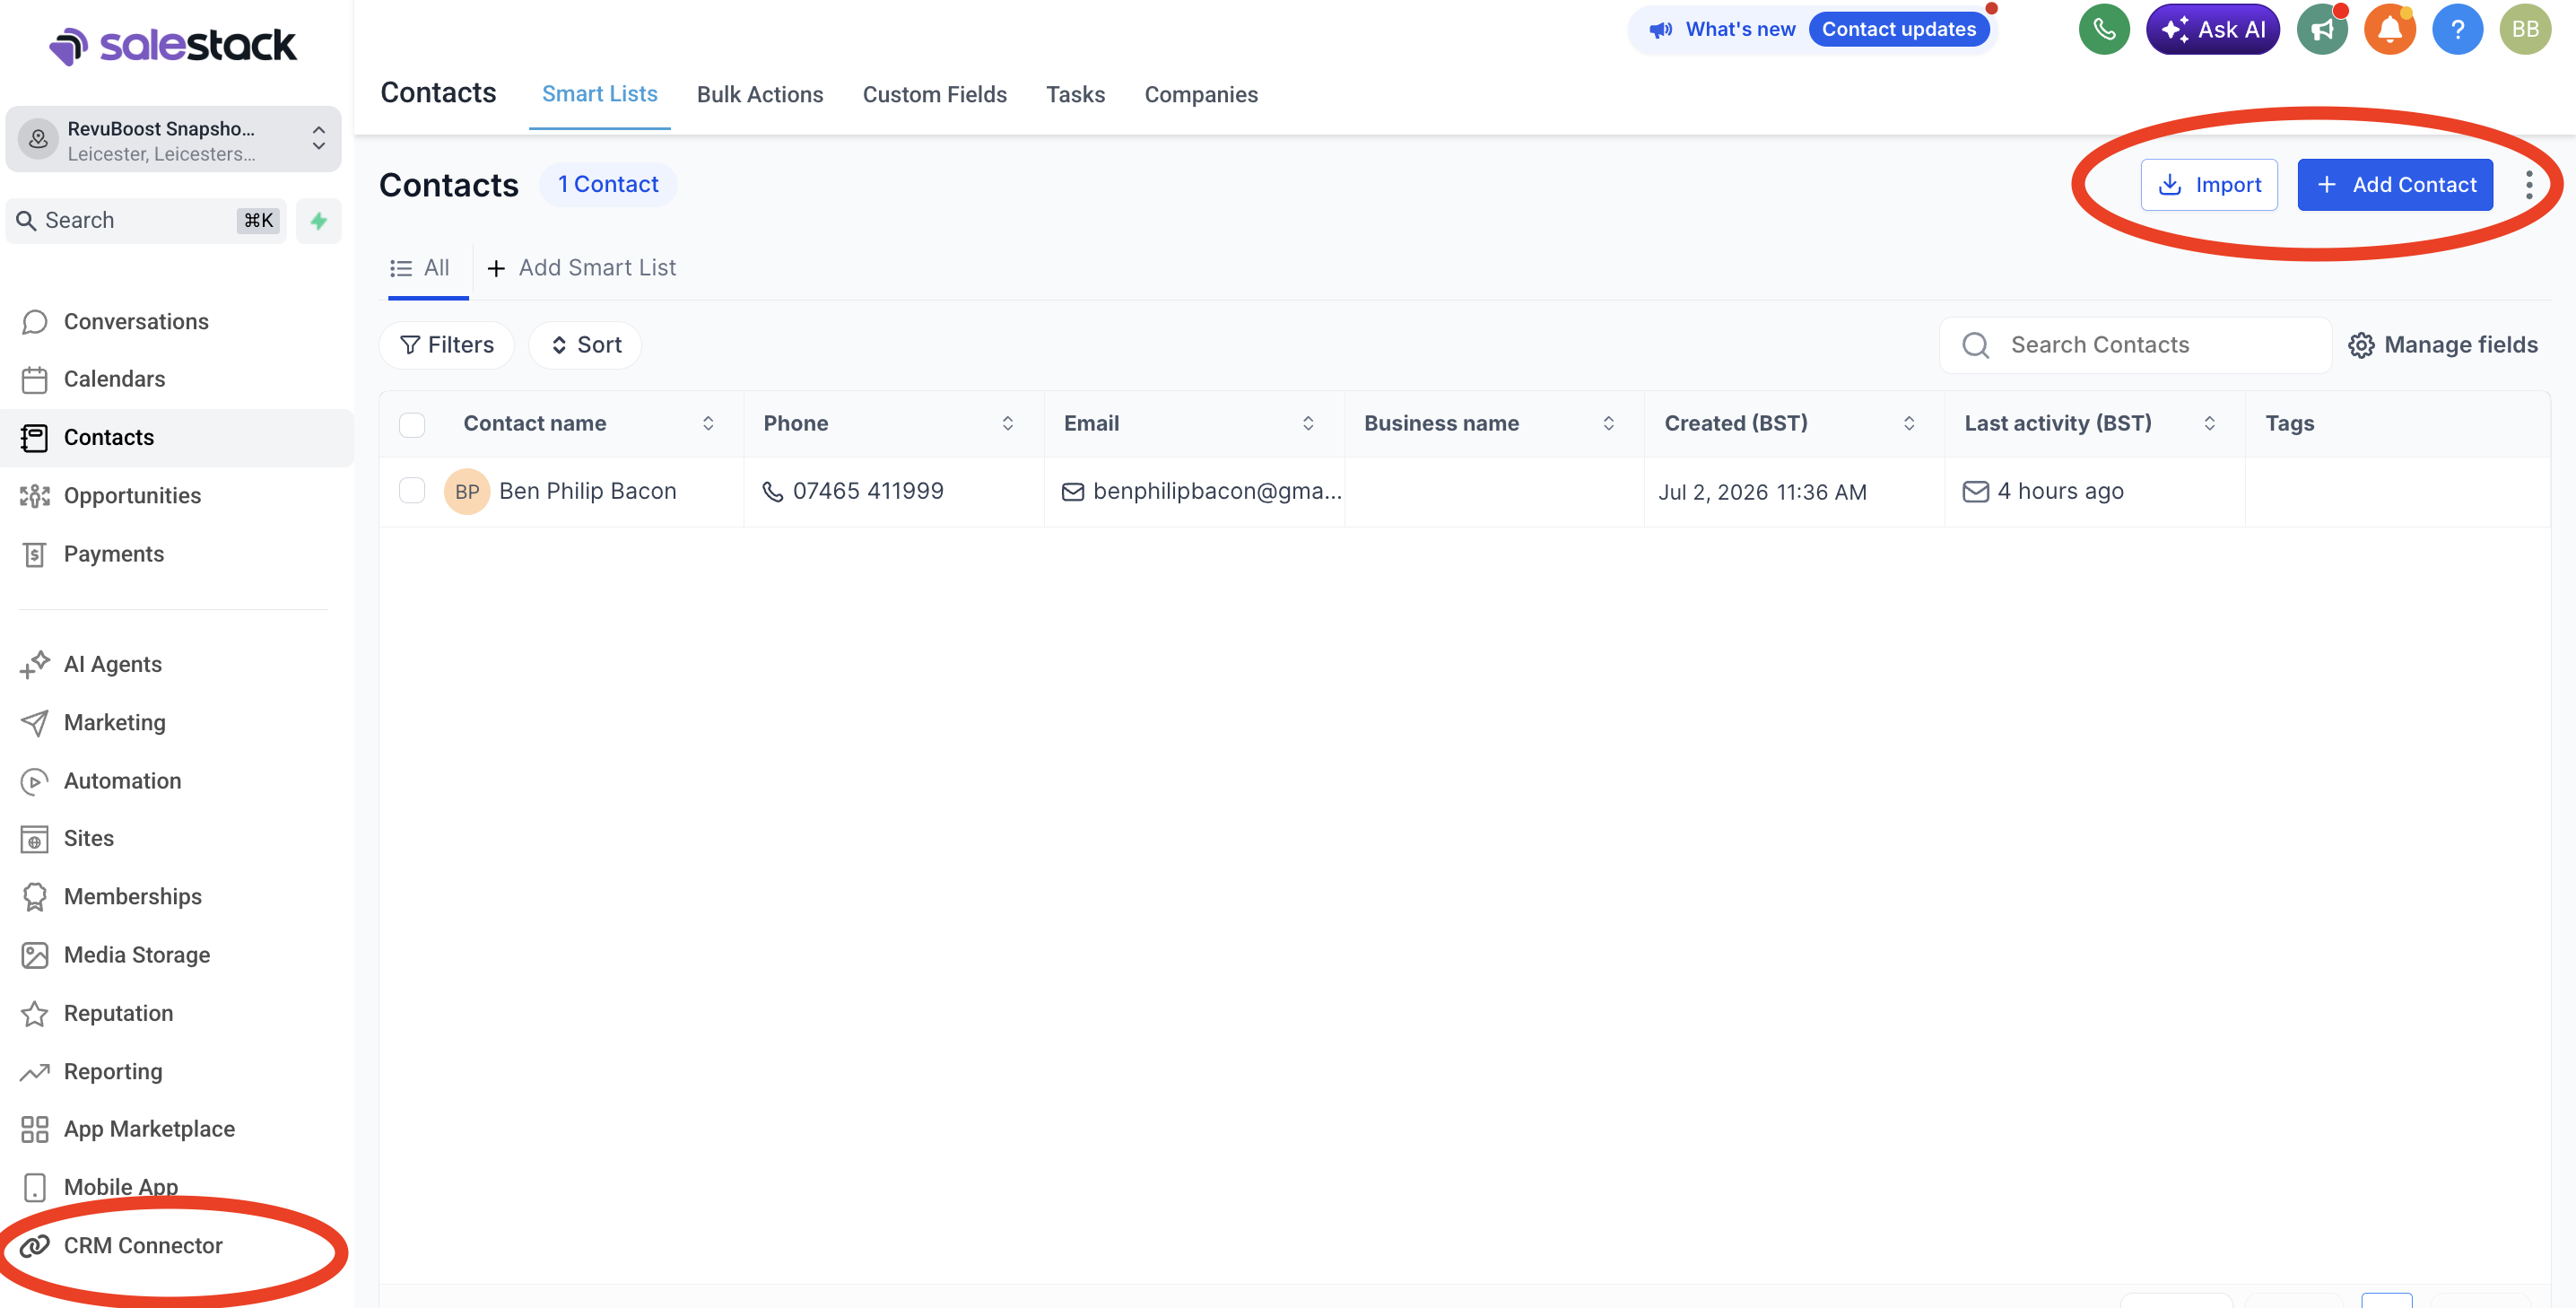
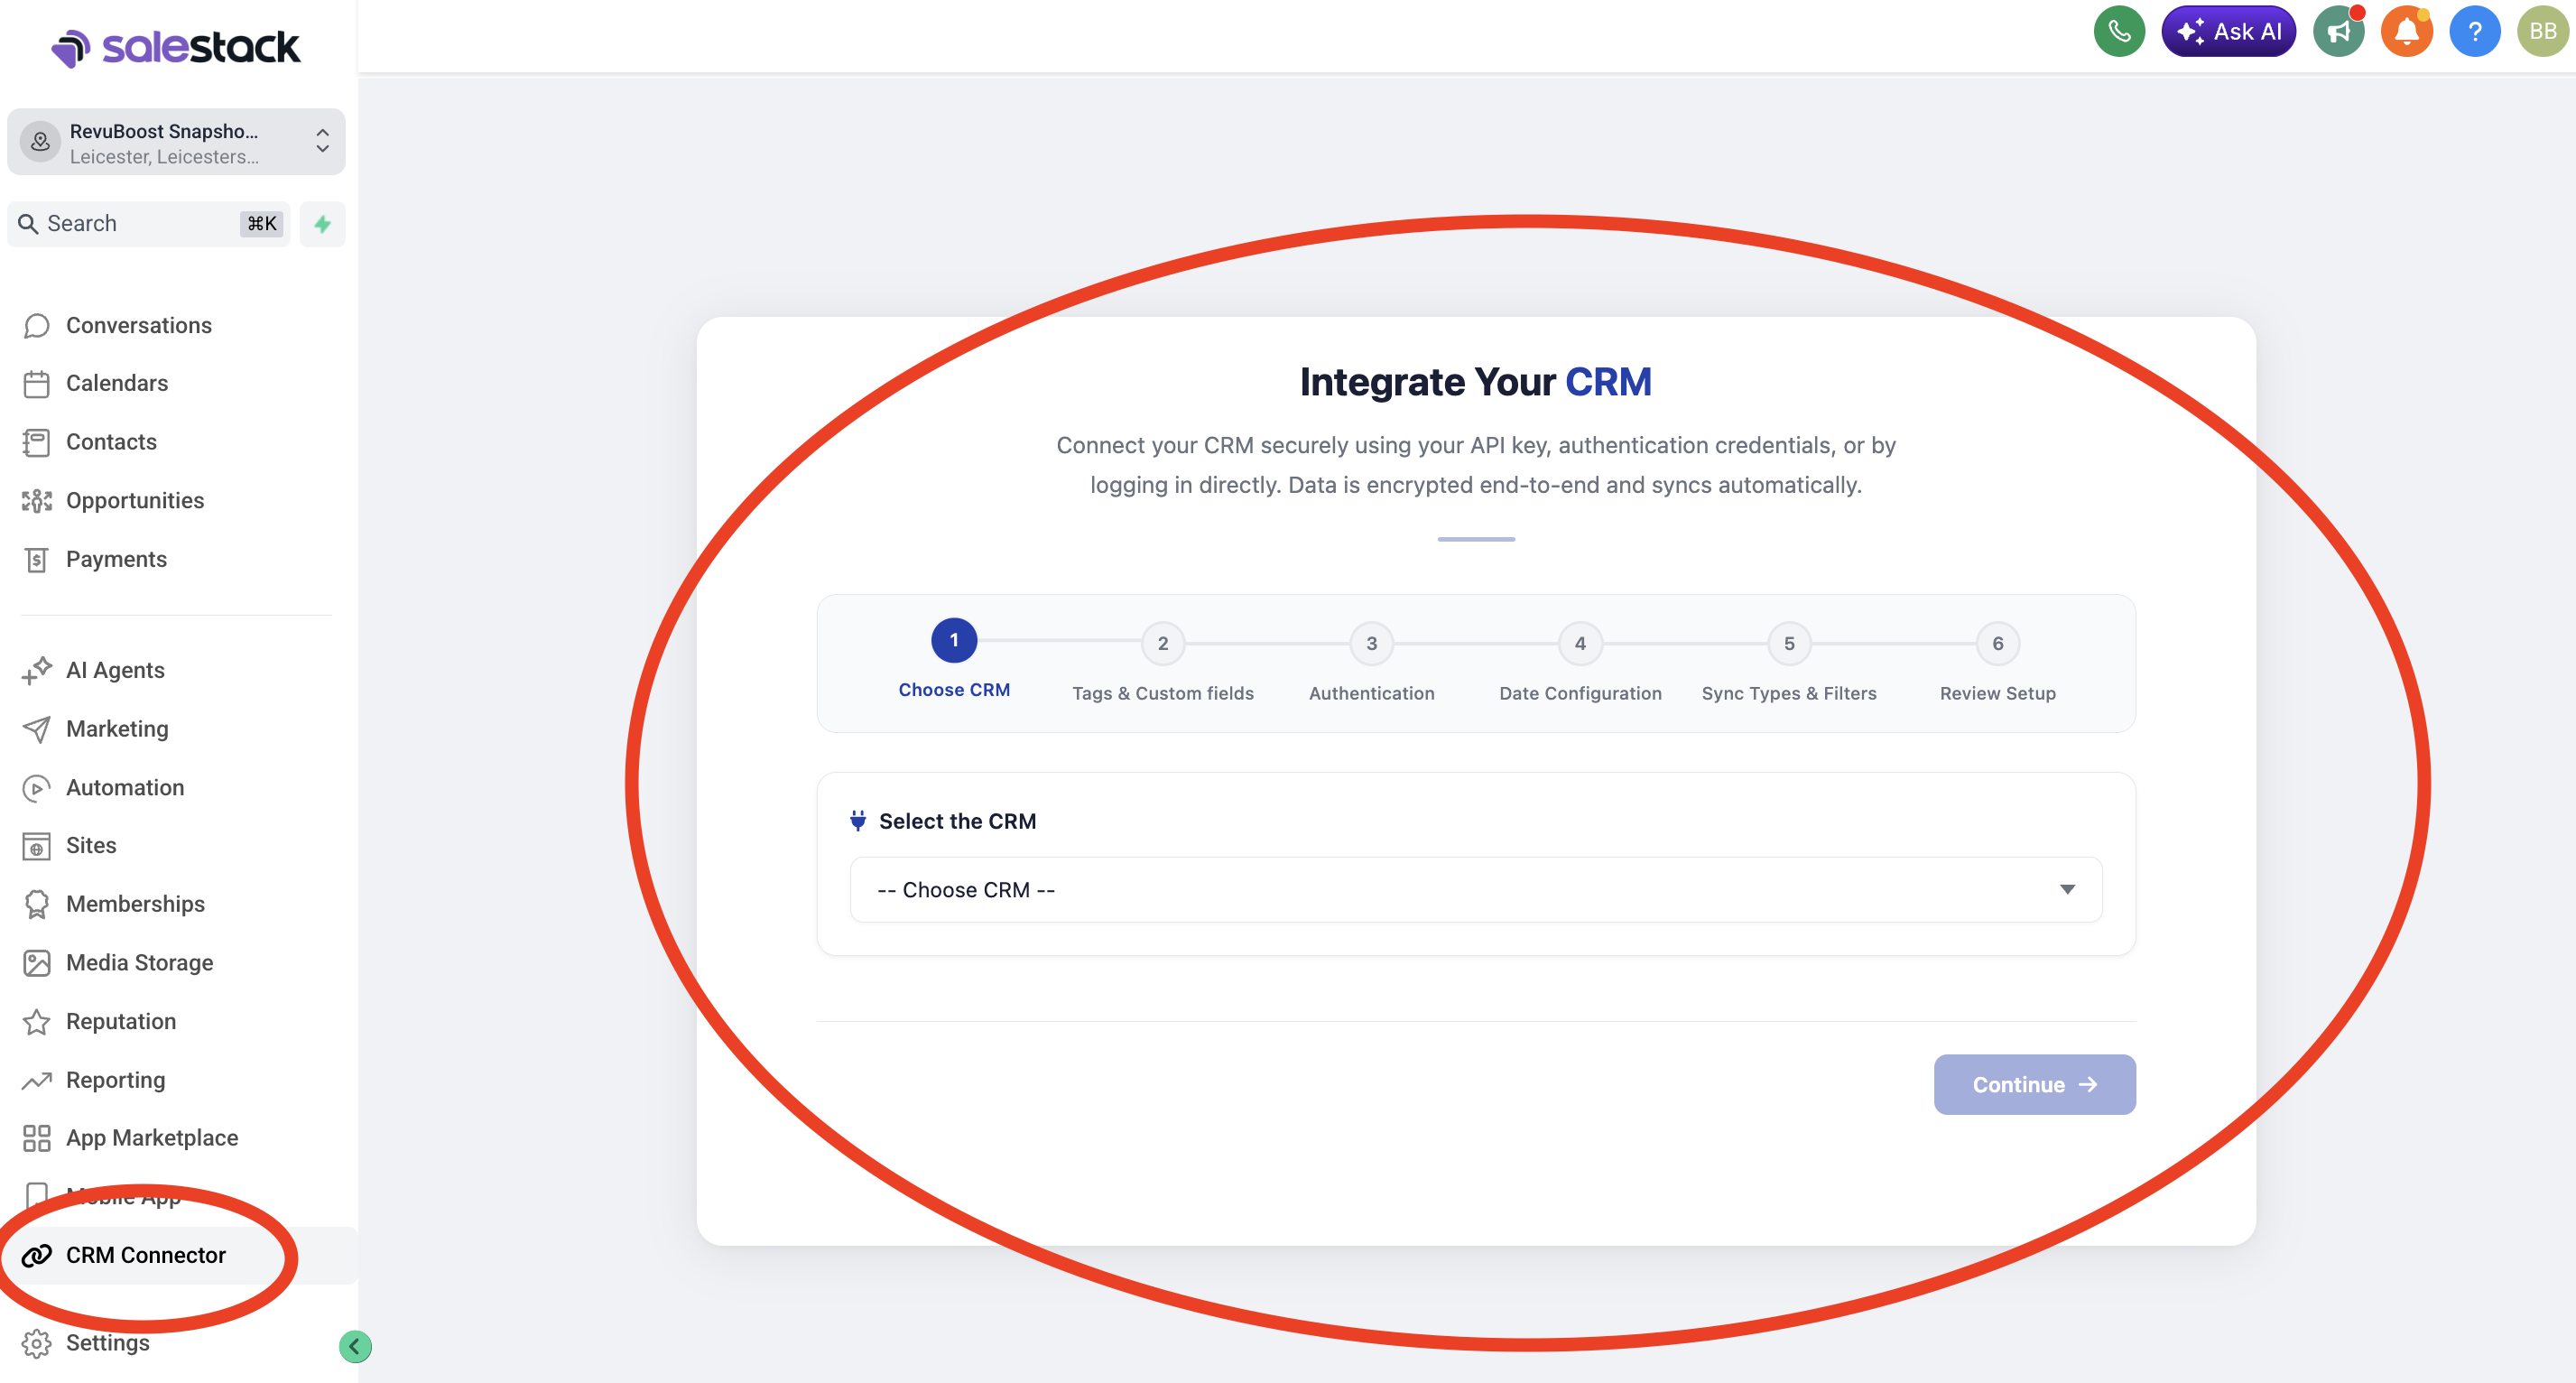
Add customers, upload a CSV or connect a CRM
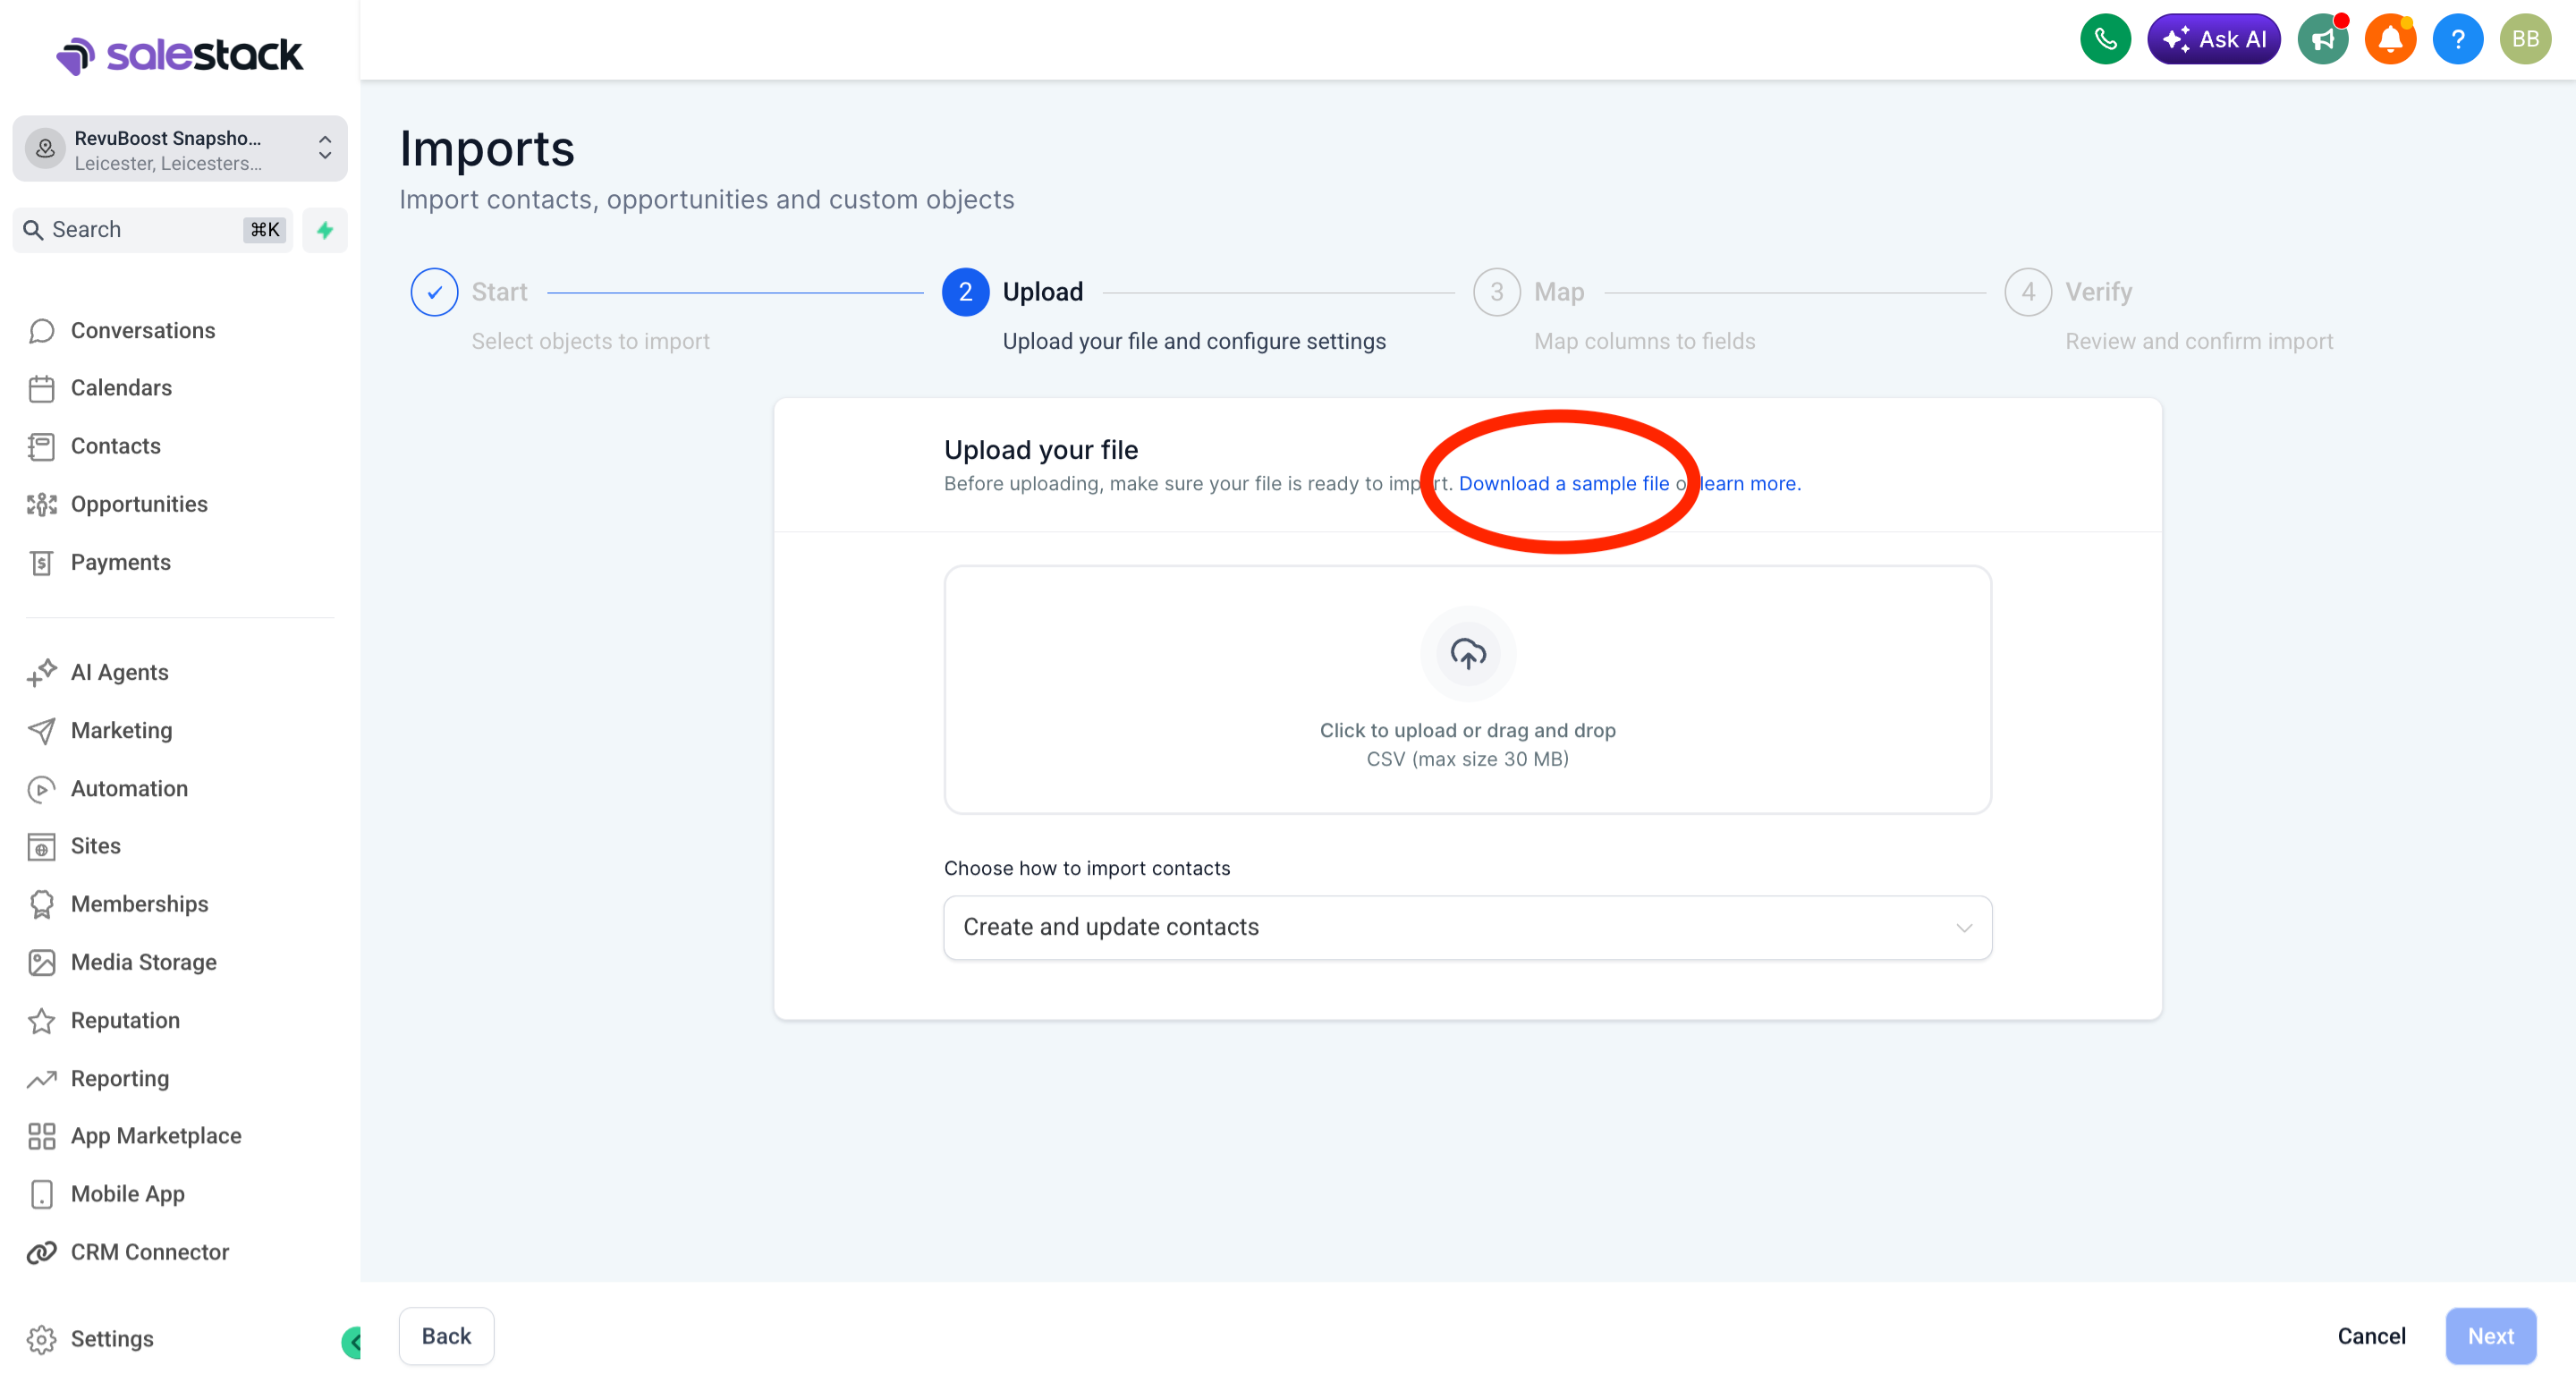
Customers can be added manually, imported by CSV, or pulled in through a CRM connector where available.
Minimum CSV details needed
The CSV should be kept simple. Ideally, it only needs the customer name, mobile number and email address.
Social media and Google review widget
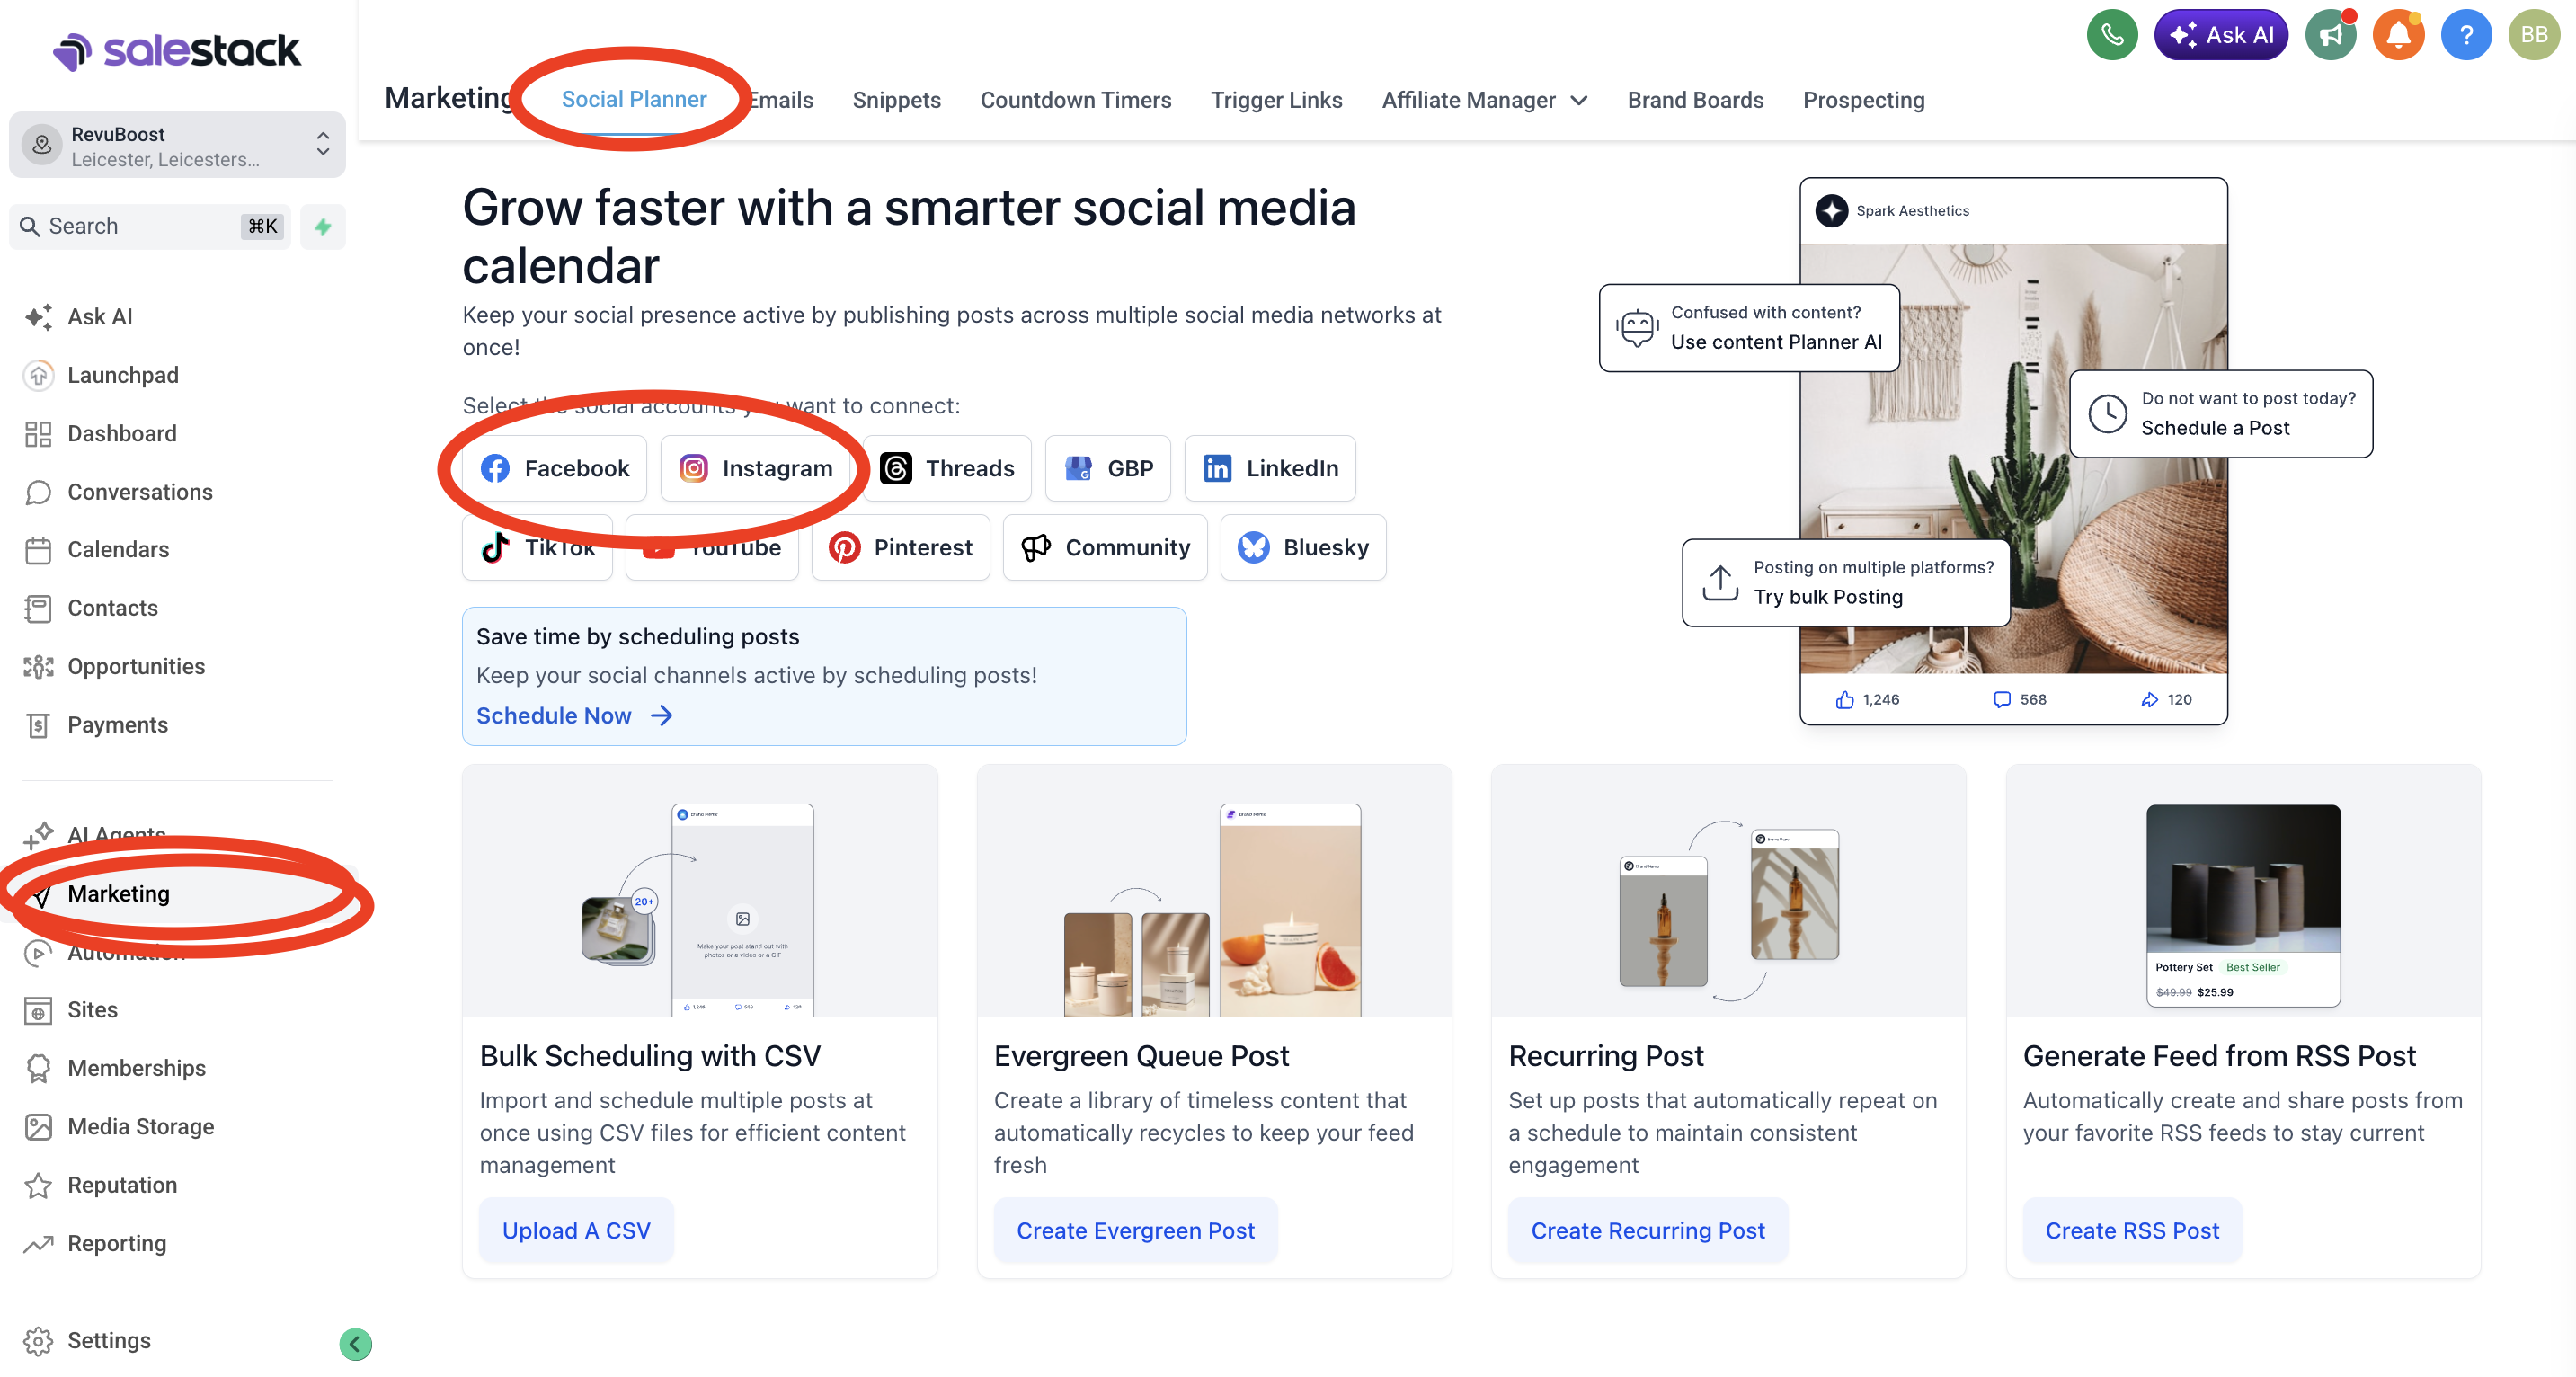
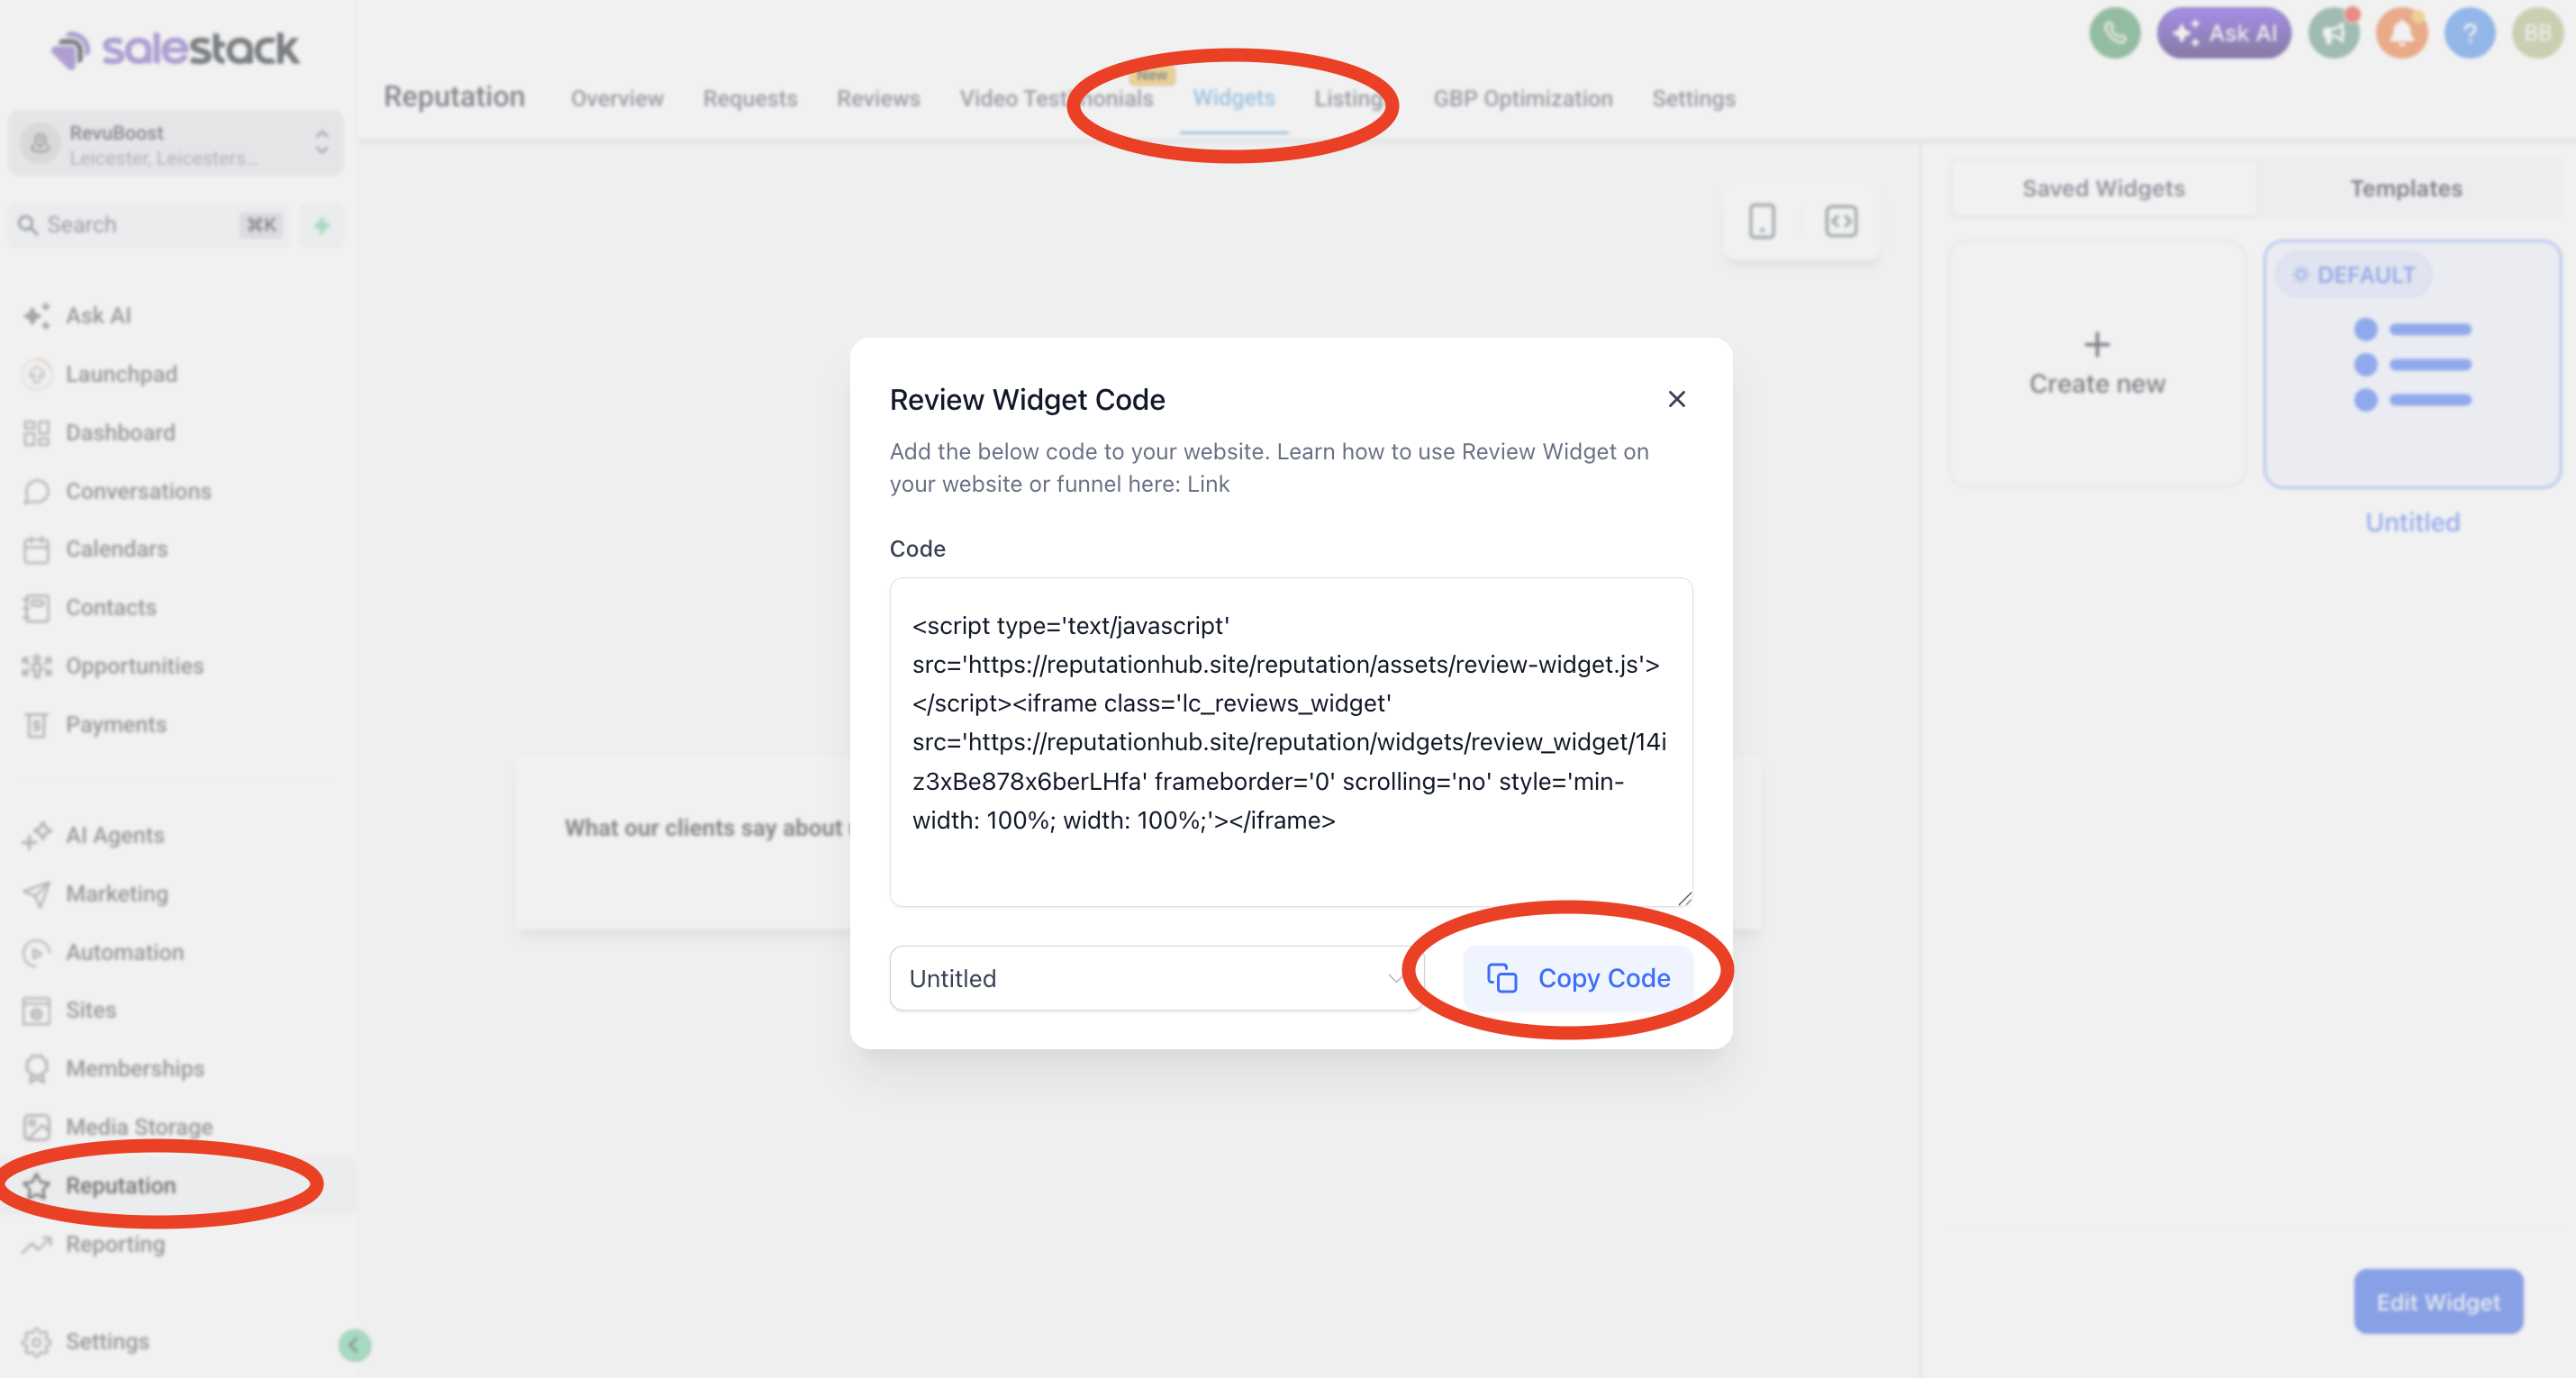
Connect the client’s social media accounts if review-to-social posting is included, then set up the Google review widget so reviews can display dynamically on the customer’s website.
Connect social media accounts
Connect Facebook and Instagram so selected positive reviews can be reused as social proof content where this is included in the account setup.
Set up the Google review widget
Use the Google Business Profile review widget code and paste it into the customer’s website so their Google reviews can display dynamically.
Test everything before going live
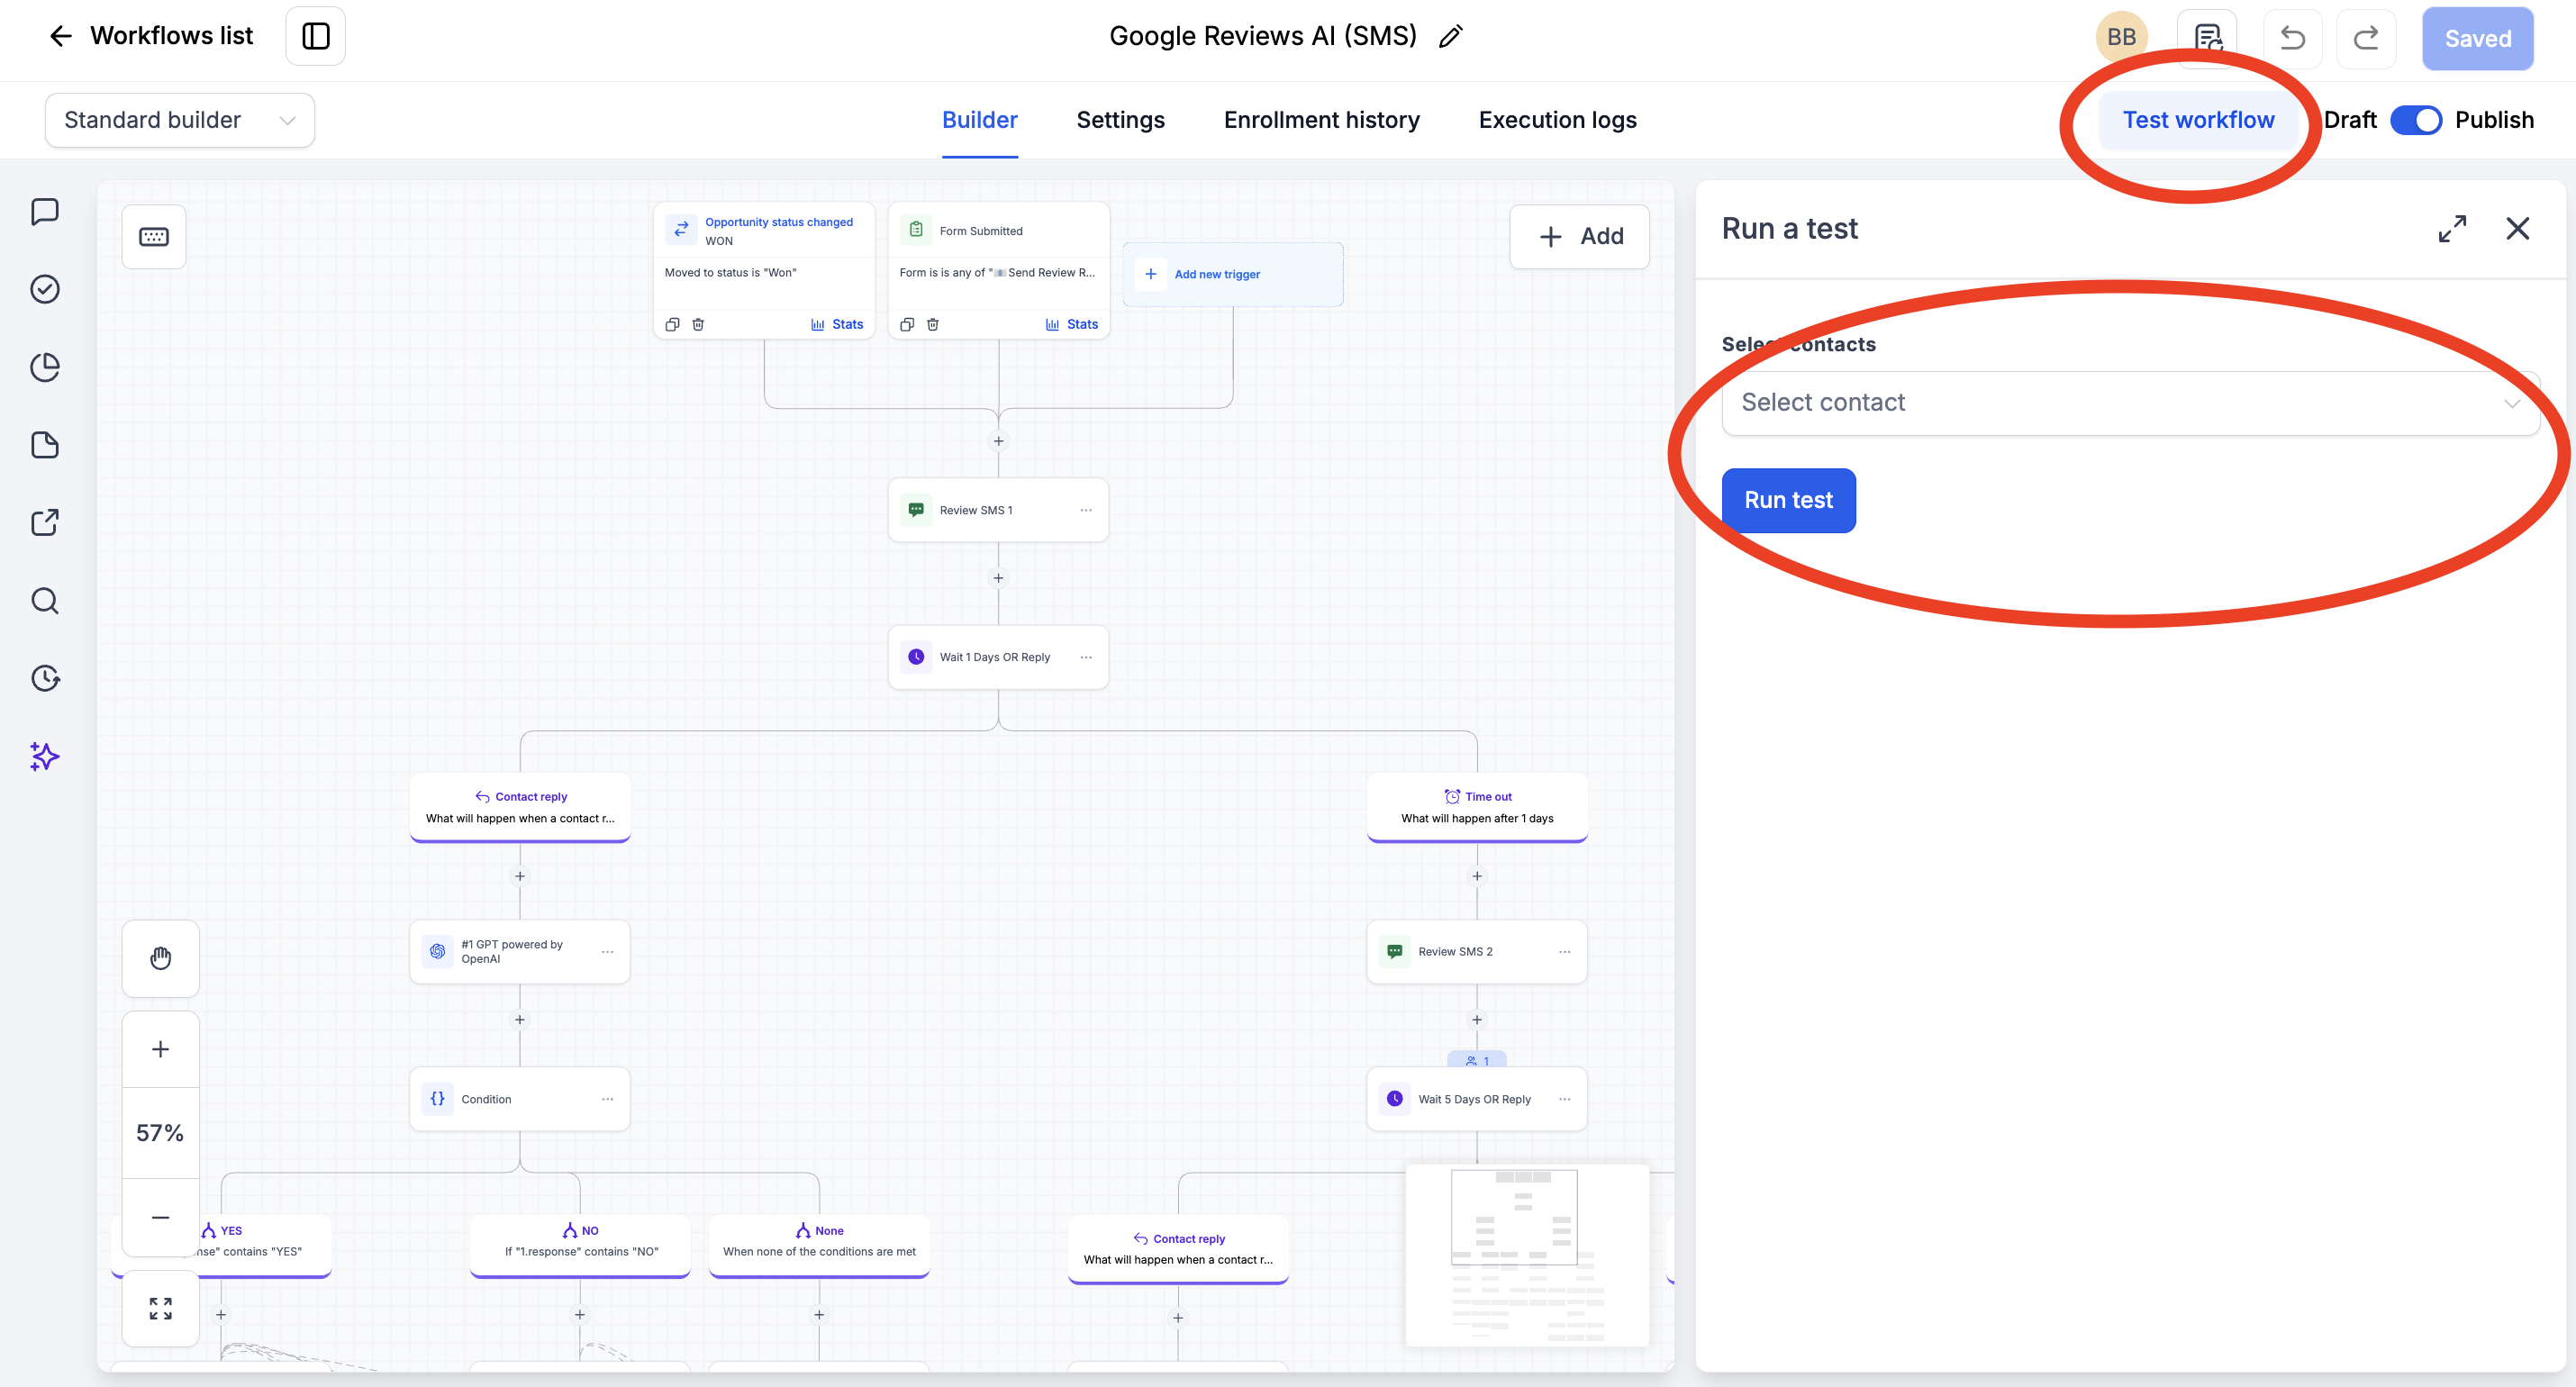
Before sending real review requests, test the full journey yourself and make sure every link, message and automation works correctly.
Setup complete
Once every step has been completed and tested, the SaleStack-powered RevuBoost account is ready to collect reviews, send requests and guide customers through the review filter journey.